Showing posts with label Brewery. Show all posts

Monday, February 23, 2015

Basement Induction Brewery Build - Brew Stand

As I mentioned at the beginning of 2015, I am finally putting the wheels into motion here with my indoor home brewery. To transform my basement into the induction run brewery I need to completely the following projects:


This past weekend, I tackled the brew stand.

Plans


Brew stand plans
(Brew stand plans)


Build

I don't seem to ever follow directions or plans 100%.  This project was no different.  I decided to dado out a 1/2" of the 2x3 dimensional lumber to hopefully increase the rigidity of the stand.  If I didn't do this the square frame, and later all my wort and mash weight, would be solely relying on #9 deck screws to hold everything up.  I, like most other homebrewers and DIY'ers, love to over build things so the screws alone may have been fine, but I felt comfort knowing some of the weight would be resting on the vertical 2x3.
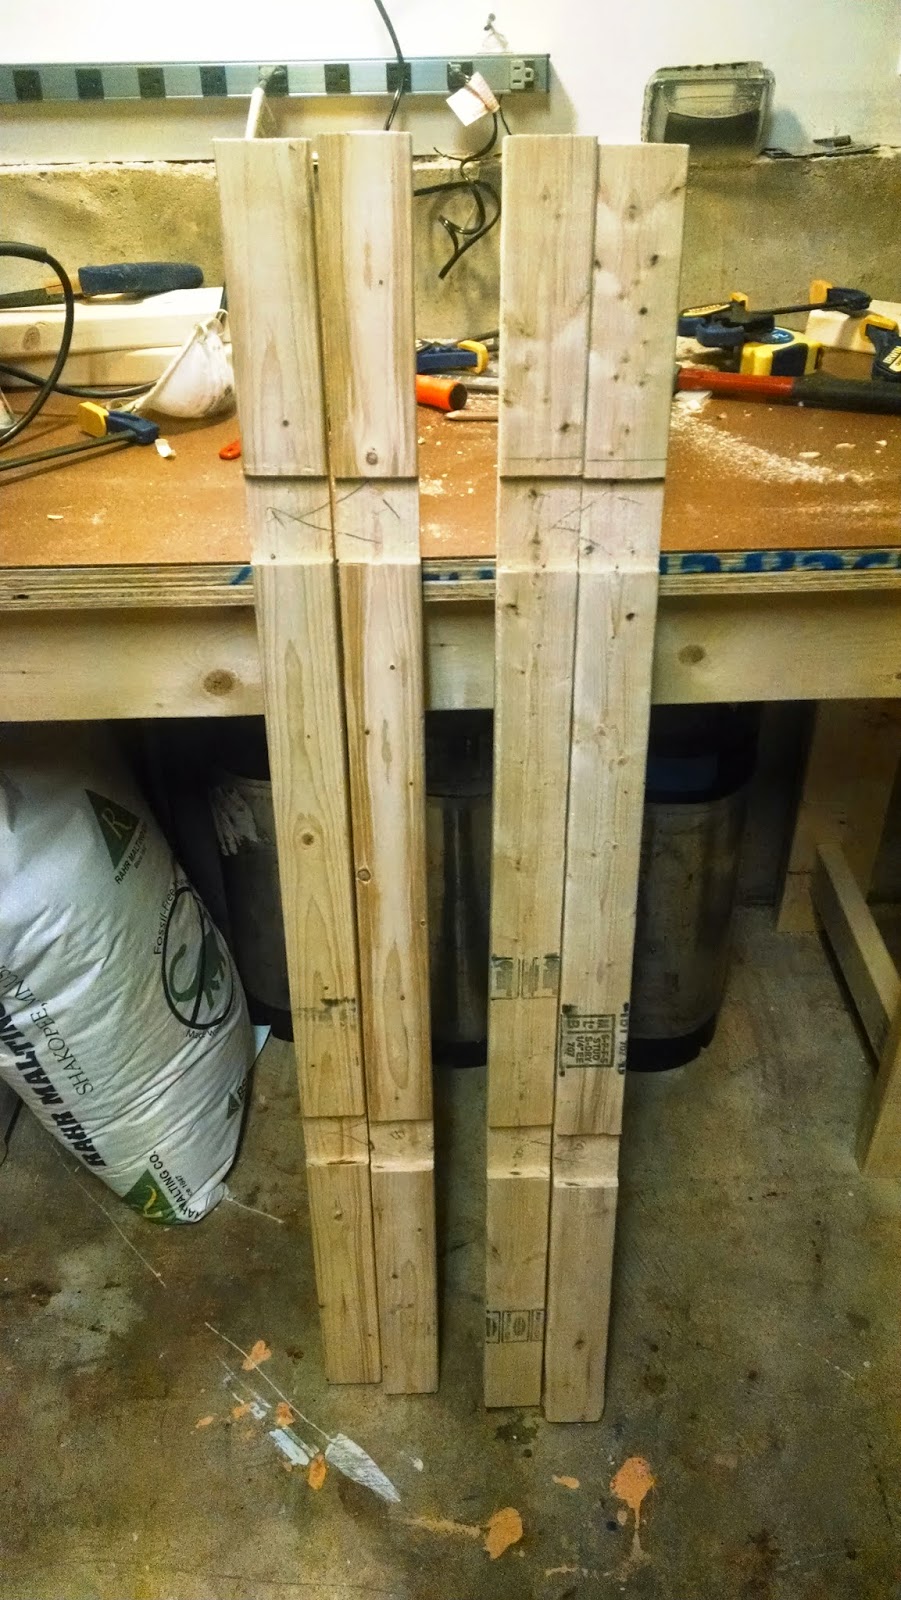
2x3 verticals
(2x3 verticals with 1/2" dado)


I failed to account for the 1" decrease caused by my impromptu dadoes so the side-view of the plans above is actually 22" inches overall, and 19" between the verticals. RDWHAHB!  Everything fits in the end.

Brew stand frame
(Stand Frame)


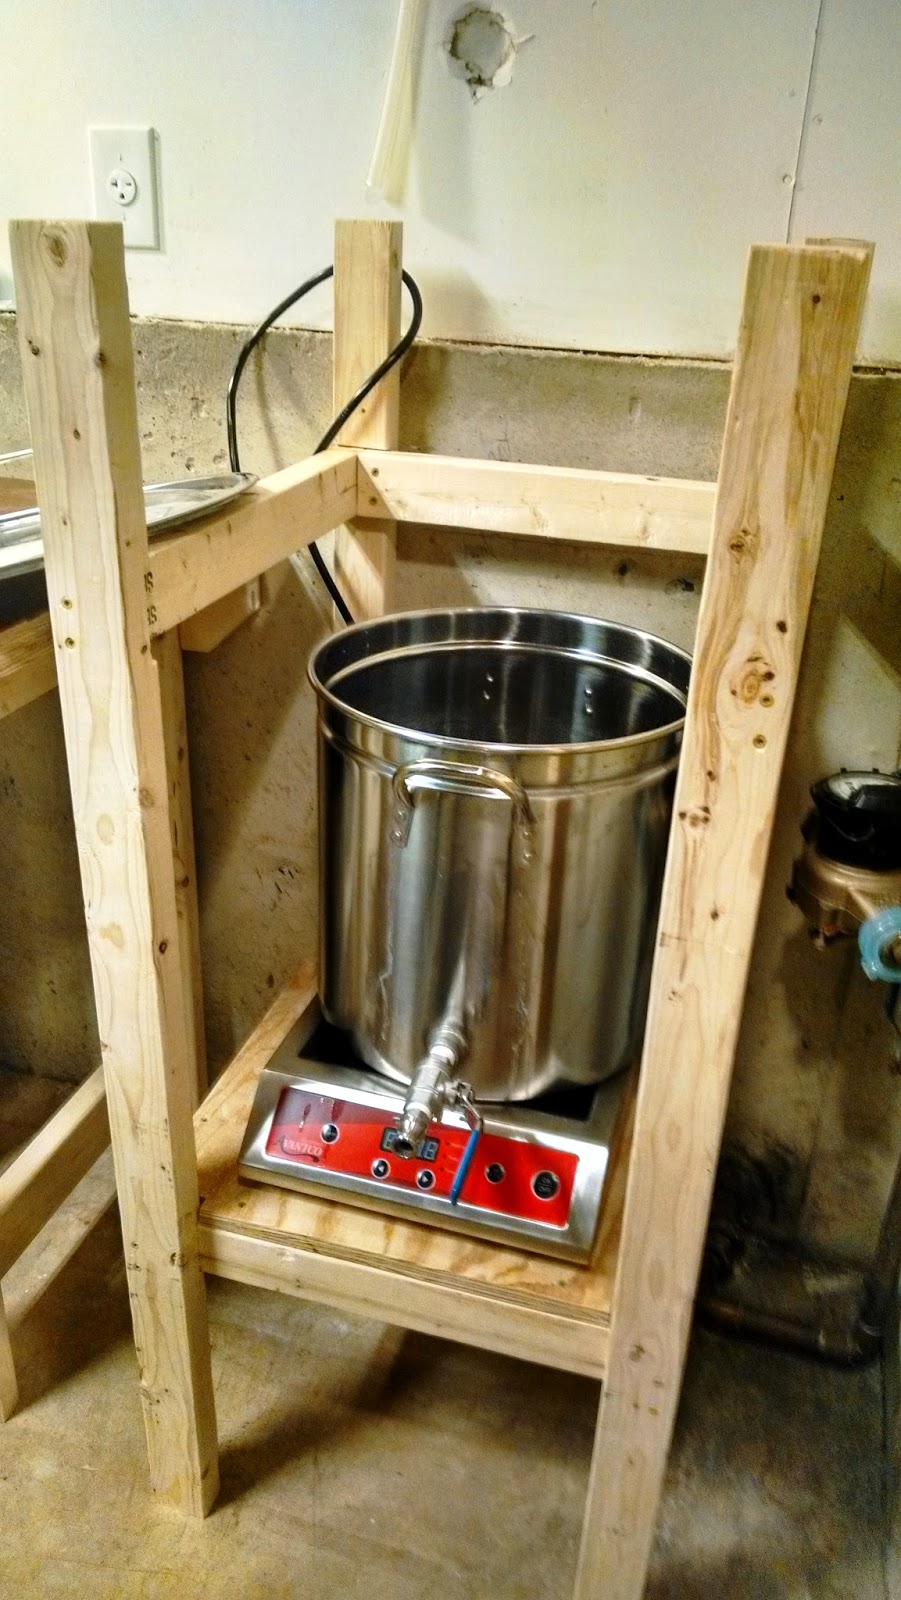
After pre-drilling and screwing in the horizontal pieces for the burner-level of the stand.  I cut a plywood shelf, with notched corners, and fastened it down to the 2x3s with a few 1 5/8" drywall screws.

I then cut the 3 pieces for the open-ended top square and fastened them with the deck screws.  I did my best to try to keep everything in square, but the 2x3s had warped a bit since purchase.  This probably didnt' matter as I later found out the area of the basement I planned to put the brew stand is not even close to being level.  Oh well!  I placed a tiny shim under that front right leg and all is well.

Hypothetical Brew Day Pictures

Here are some pics with things in place and testing out different hypothetical brew day procedures.
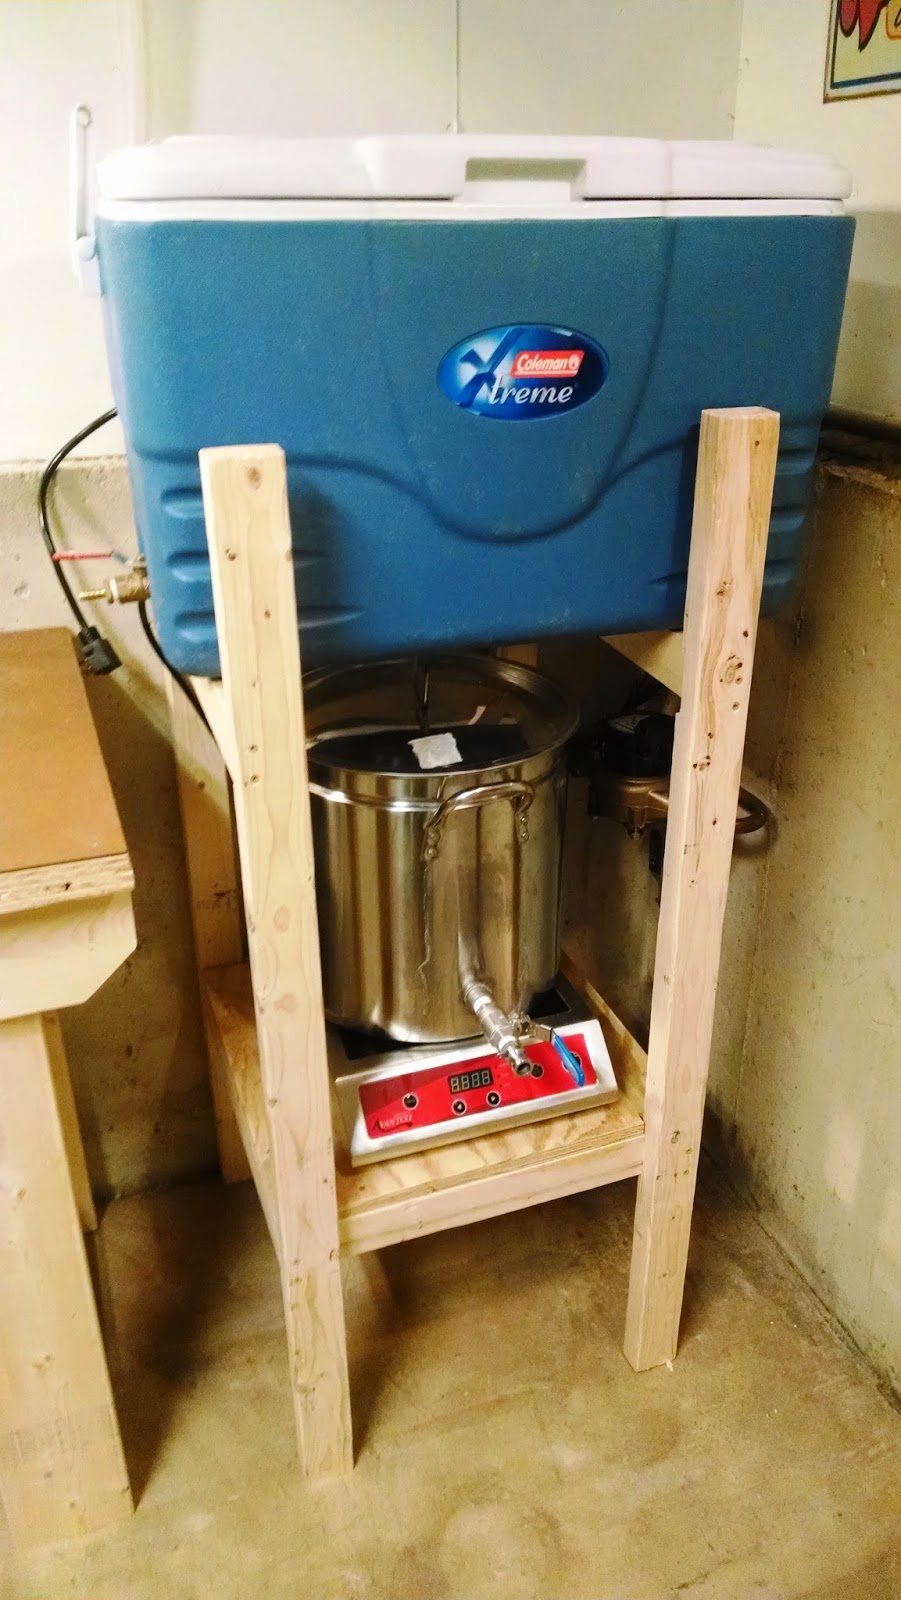
Hypothetical mash mode
(Brew stand - hypothetical mash mode)

Hypothetical sparge mode
(Brew stand - hypothetical sparge)
Hypothetical boil mode
(Hypothetical boil)
Kettler to fermenter
(Hypothetical draining wort to fermenter)

(Brew stand next to the bench - storage mode)

Future tweaks


I think I may cut the top of the front two vertical pieces shorter in the future.  I would have done it, but I had already swept up the basement of all the sawdust and didn't feel like repeating process.  They are at the height they currently are just cause I had had the guy at home depot cut them in half for transportation purposes.  I can image it will be easier to move the mash tun with grains for cleaning if I shorten those pieces.

I am probably going to stain or apply some sort of finish to the wood mainly to protect it from moisture and spills.  Being made out of wood, I will be able to easily adapt the stand in the future if I ever go with a pump or RIMS setup, but I think this will work fine for now.

Stay tuned as I hope to tackle plumbing a new utility sink and water lines next.

Saturday, April 7, 2012

Cheap Hopper Extension for Barley Crusher

I purchased a Barley Crusher almost 2 years ago.  It is a great addition to my all grain brewing equipment.  The crusher allows me to store grain unmilled, thus preserving freshness.  The mill also allows me to not rely on or worry about estimating efficiency from a homebrew store.  When I made the purchase, I was to frugal to spend the extra $15-$20 to get the 15lb Hopper.  It the grand scheme of things, it is not a huge deal to have to pour half your grain and mill, stop, and the pour the other half.  But it would be nice I thought...

After putting my thinking cap on I figured, why not just make one myself out of cardboard?  I had a couple of boxes in the garage from online shopping and some SWEET Colored Duck Tape my mom had given me for my birthday!  I measured and the hopper was not a perfect square.  It was about 8"x8.5" - Just so happened one of my boxes was 8x8x12.  I cut the 8 inch sides and left the folded part.  The folded pieces would be cut on an so they would lay flat on the angled parts of my current 7lb hopper (see the picture to follow what Im saying).  I then cut the 12" sections to 8.5" leaving the flap as well.  Then I taped it all up and placed in the hopper to make taping adjustments.  The design assumes that the weight of the grain on the flaps will keep the hopper in place... I have NOT test this yet :)

(Extension laying flat for easy storage)

(extension on top of 7lb hopper)

The Extension itself its 8"x8.5"x8" which comes out to 544 inches cubed.  A pound of barley takes up about 46.2 inches cubed.  So this roughly gives the extension a capacity of  ~11.77 lbs (544/46.2).  So to be safe we will say my total hopper (original 7 lb hopper and extension) can probably hold a total of 17-18lbs.  Most recipes I brew don't come in that high. but I will be sure to test this extension out next brewday and report back.

Tuesday, March 20, 2012

The Brewery

So some of you may be interested in the brewery and my setup, so I thought a few pictures were in order!  Let me know what you think.

The Brew Shelf - The shelf of "Organized Chaos" contains almost all of my equipment other than kegs, kettle and burner!


The Fermentation Chamber - not the most aesthetically pleasing device, but it does its job well.  As the Capacity to hold to Batches at a time.

My "Brewstand" - Making great use of that trashcan for my mashtun.  Forgot to take a picture of my 15 gallon pot.  This is my 5 gallon pot I use for strike water sitting on my propane burner.

My CPVC manifold, which up until last brewday hadn't created a stuck sparge!

One of my kegs and my many cases of bottles

Last, but definitely not least, the Keg/Beer Fridge!