As I have alluded to in a few other posts,
much of my all of my free time the past couple months has been devoted to taking down our old and unsafe deck, and constructing a brand new one! It has been a really fun project even thought it has taken 5 times longer than I expected and roughly 30% more than I budgeted...buy once, cry once. I normally keep this blog strictly related to beer brewing and consuming, but wanted to provide everyone with proof of why I have been so absent in the homebrewing and blogging world, and use it as an excuse to show off my skills.
A big thanks to all who came out to help with the project. I am in debt to you a lot of manual labor and malted beverages.
Without further ado:
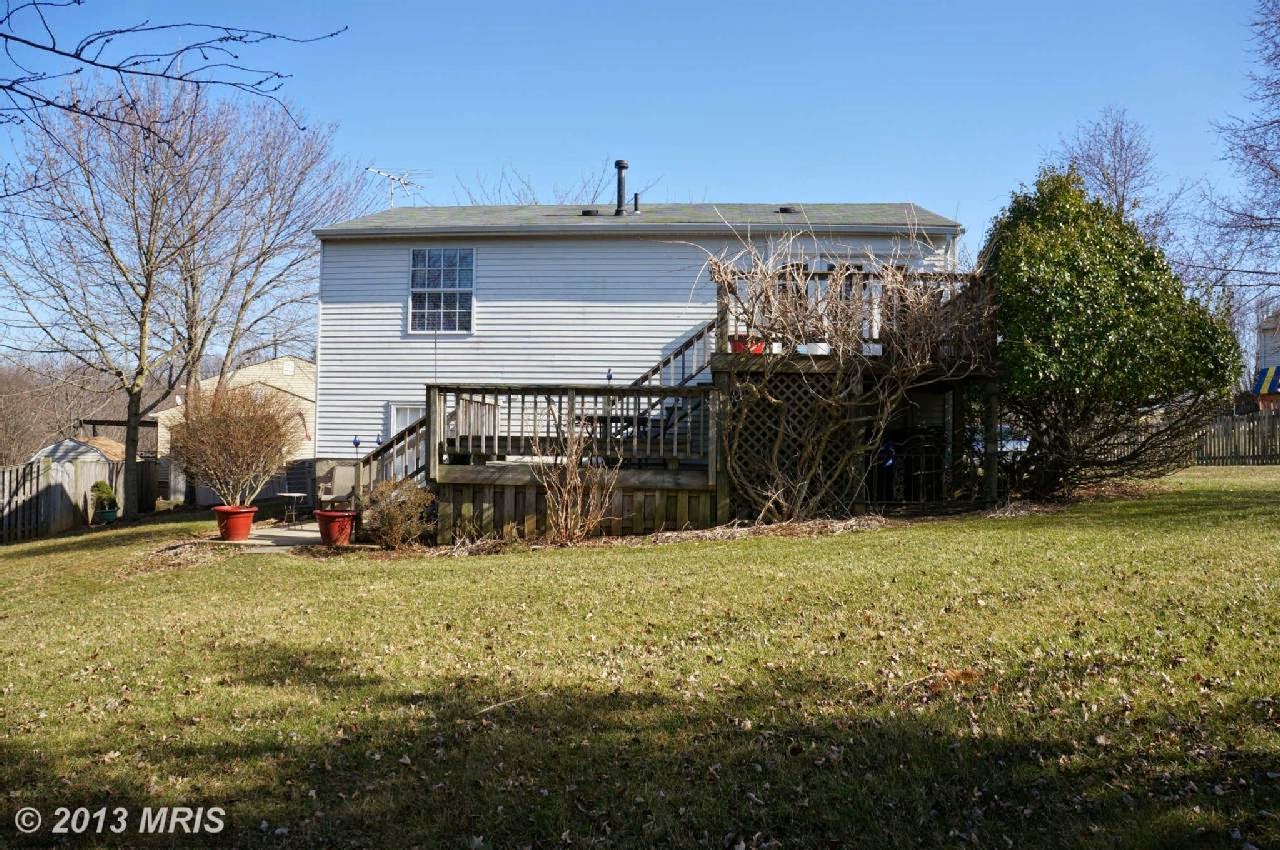
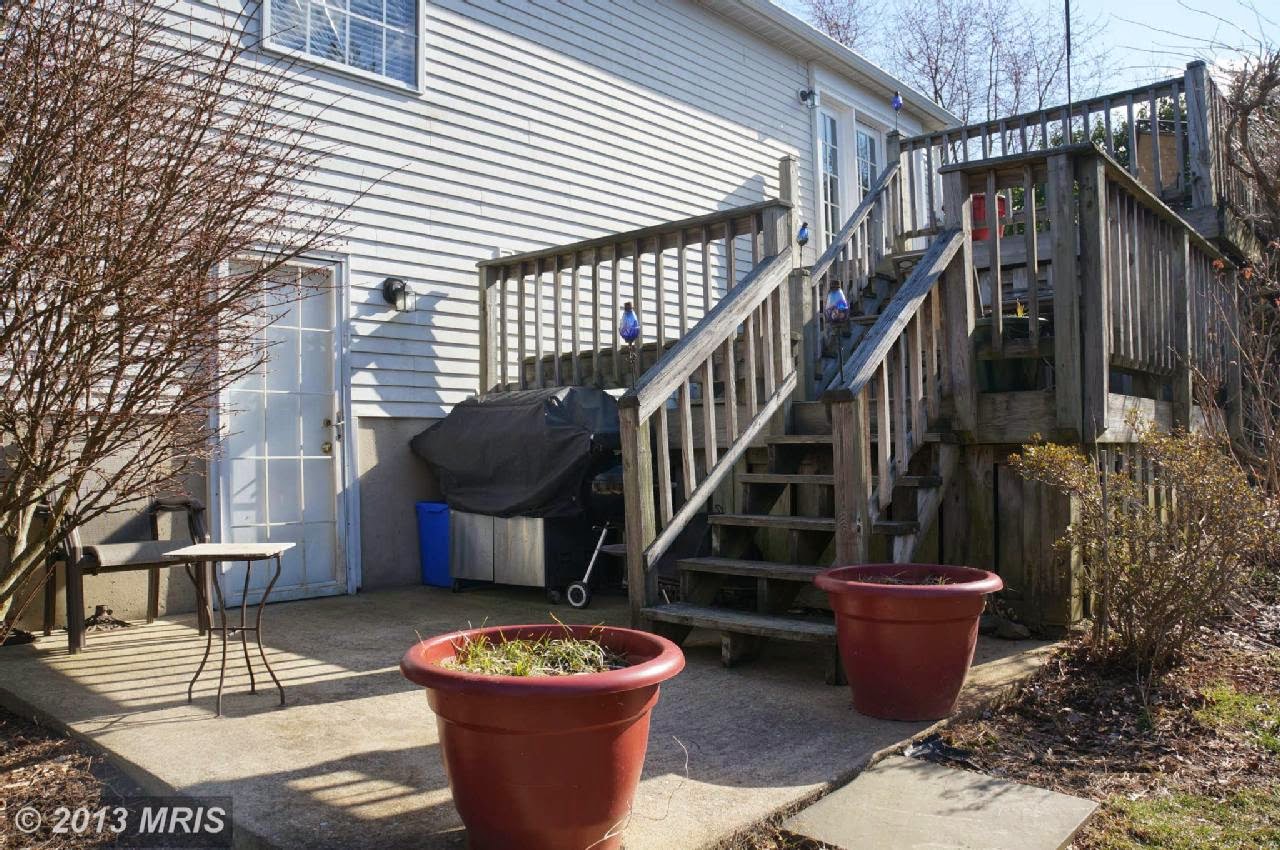
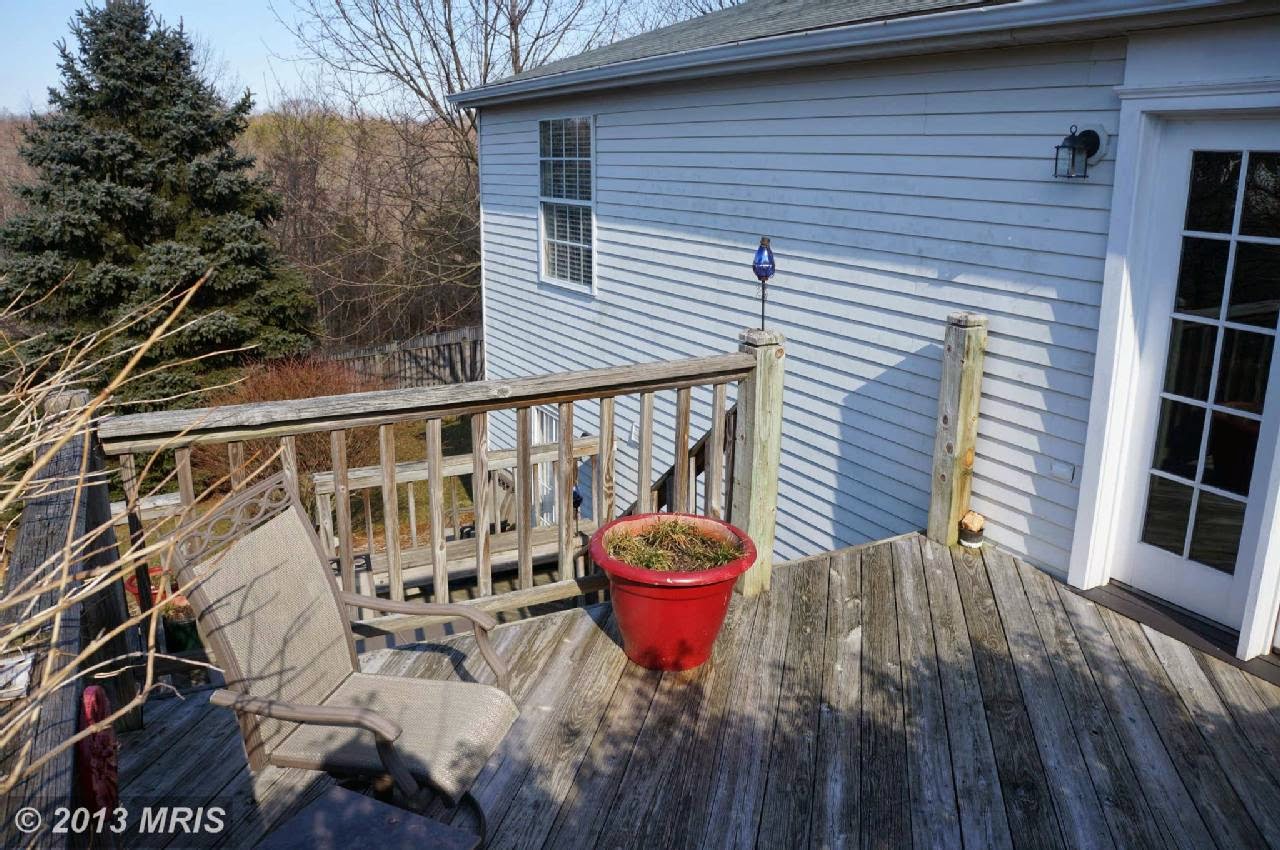
BEFORE
The old deck had a lot of problems. When we bought the house I had inspected it and new it was almost beyond saving. The fact that we didn't touch it at all over the harsh winter insured there was no saving it. The previous structure was two 12x12 decks at different levels. The stairs from the upper level to the lower level took up almost 25% of the lower deck. There were also two built-in benches on the lower deck, which ended up being the most secure part, ha!
(These pics from the house listing make it look much better than it actual was, but you get the point)
Old Deck Issues
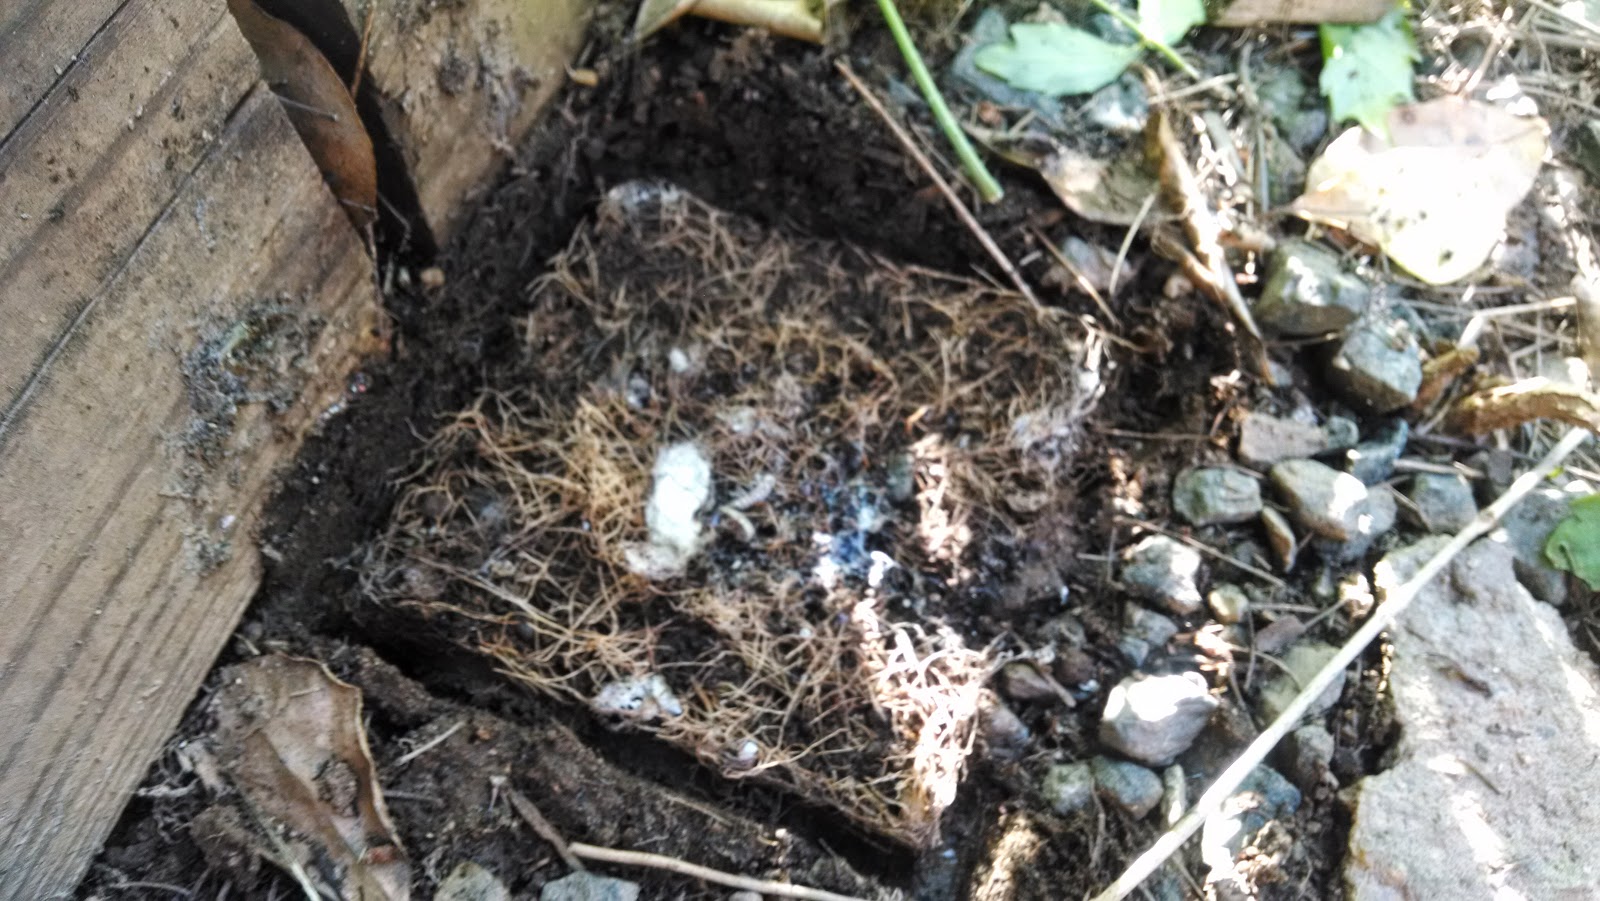
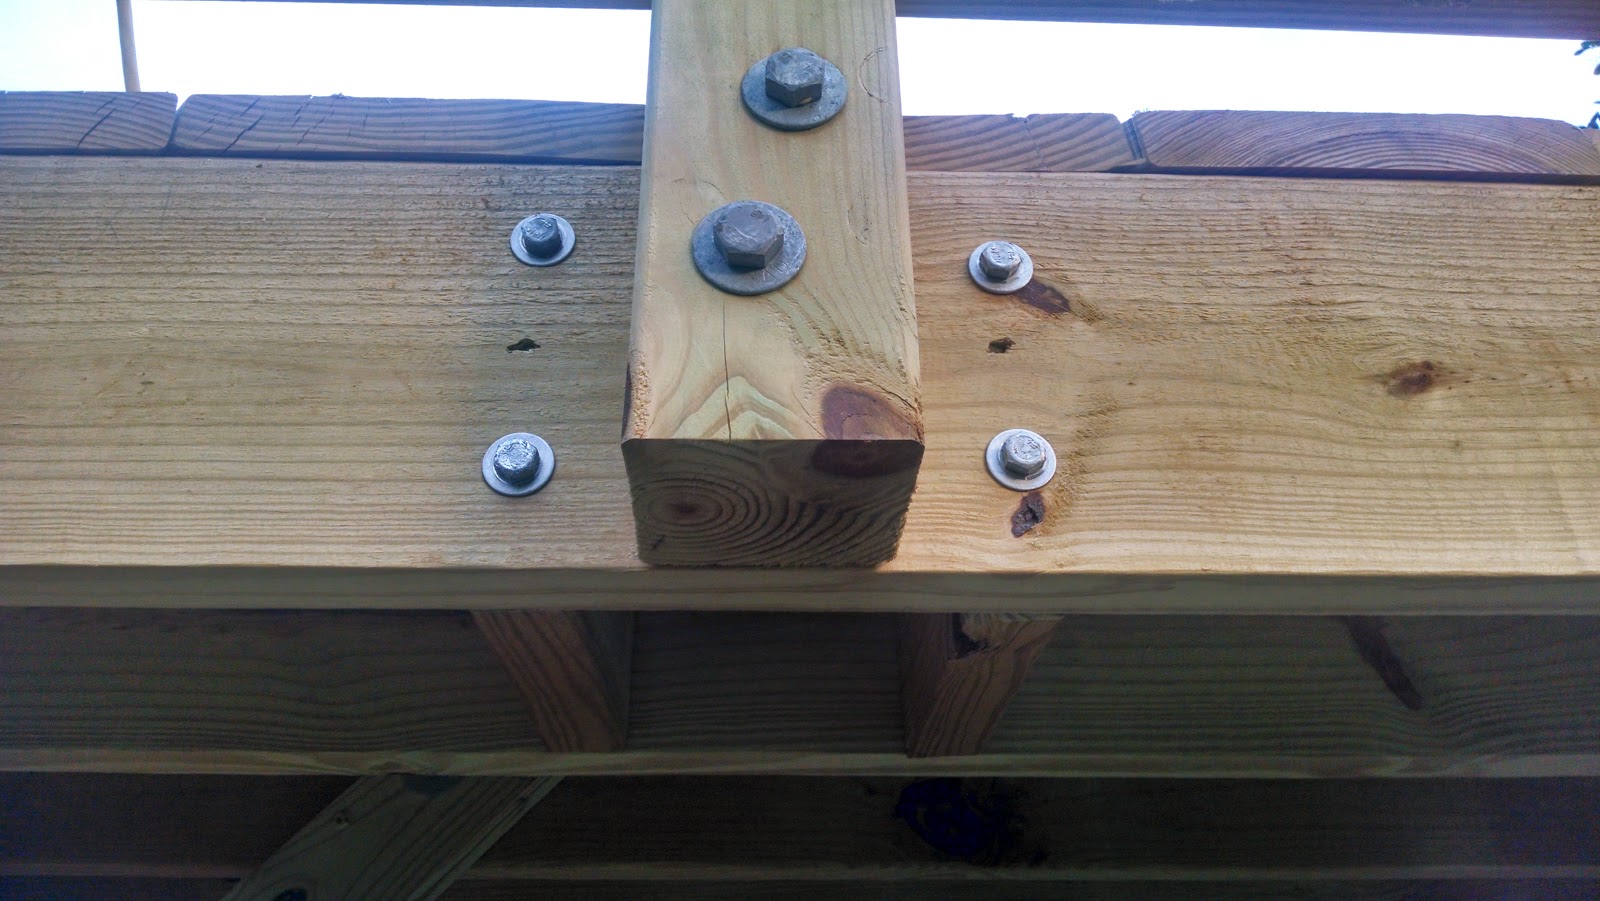
Anyone interested on the safety concerns form the old structure - The old deck attached to the house rim joist with a few lag screws installed into one 2x8 right through the siding. A lot of these screws had rusted. The deck frame consisted of 6x6 posts with 2x8 boards bolted to the sides. This means the entire weight of the structure was being supported by the rusty lag screws at the house ledger and the bolts on the posts. To code today, the beams must rest on top of the posts. I later find out during demolition that (see picture below) the posts weren't even connected to a cement footing, or burried into the ground! They were just sitting on the ground....wow. Once we cut off the beam, the posts fell right over.
 |
| (Post just sitting in a bracket on top of the ground!) |
New Deck
For the new deck I had to go to the county office and get a permit. I made I sure I was there right as they opened at 7:30am. This process would have been really quick and smooth had I not been right behind someone representing a fence and deck company. This lady was getting 9 permits...so it was as if 9 people were in front of me! So much for being there right when they opened! The way my county has things set up, if a homeowner is going to build a deck by themselves, they don't need to submit official constructions plans as long as they follow the
county deck packet to a "T." Because of this, my end design would need to be framed a little differently than a normal deck with my proposed layout to meet the county requirements. I confirmed with the county that as long as my two frames each met the requirements, I could run the decking over both structures. I will end up having a 12x16 and a 12x12 framed deck at the same level for 336 total square feet!
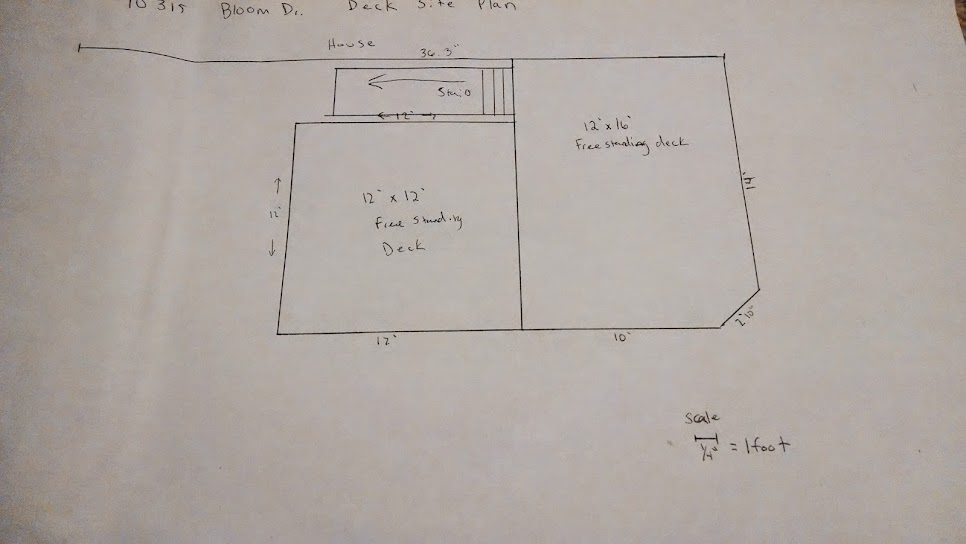 |
| Deck Plan - The angle on the bottom right was not allowed as I was required to have a perfect rectangle |
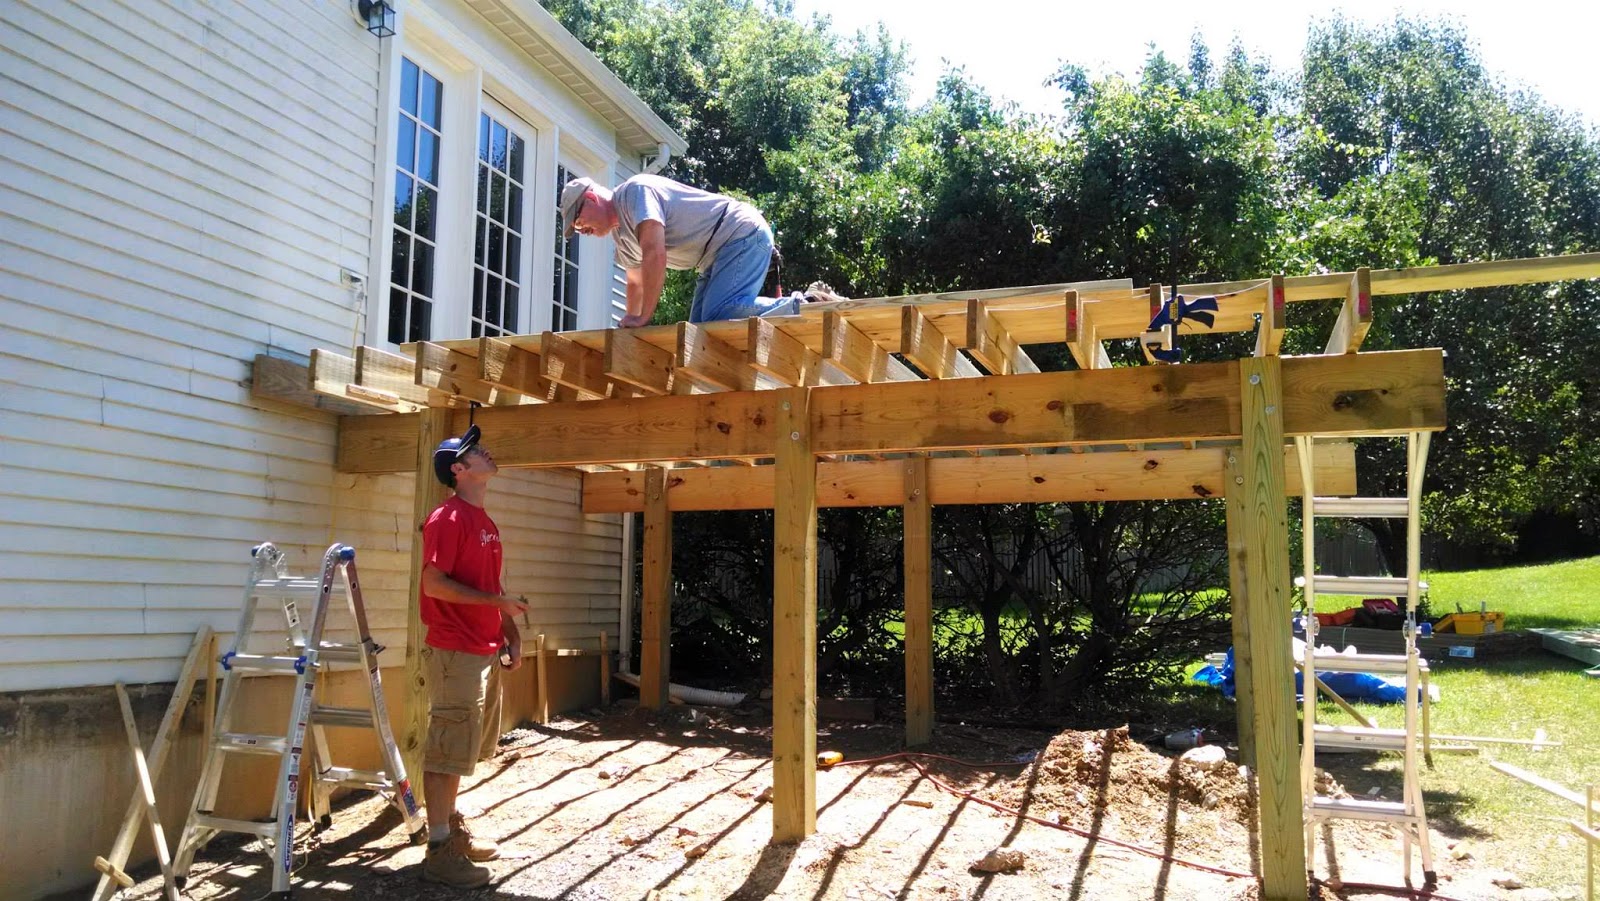
Construction
Demo took a full weekend and some additional hands - big thanks to
Steve and Suzie Welker, and
John Hamlett. We filled a 15 cubic yard dumpster up to the brim. I took a few days off work thinking I could get the bulk of this new deck construction under way. Started on a Monday morning with my posthole digger and digging bar. I was greeted with a HUGE rock on my first hole...hope this isn't how they all are! I dug out 4 holes and broke for lunch, my shoulders were sore and I had sweated so much you'd have thought I took a shower with my clothes on. After lunch I went back outside and got half of a hole dug...then I think heat exhaustion kicked in...I decided to stop for the day. Next day I brought in reinforcements, my friend Josh (pictured in the
Flying Dog Tour pics), put in some hard work helping me dig the rest of the holes - 10 holes total. I then had to get the holes inspected, and they passed.
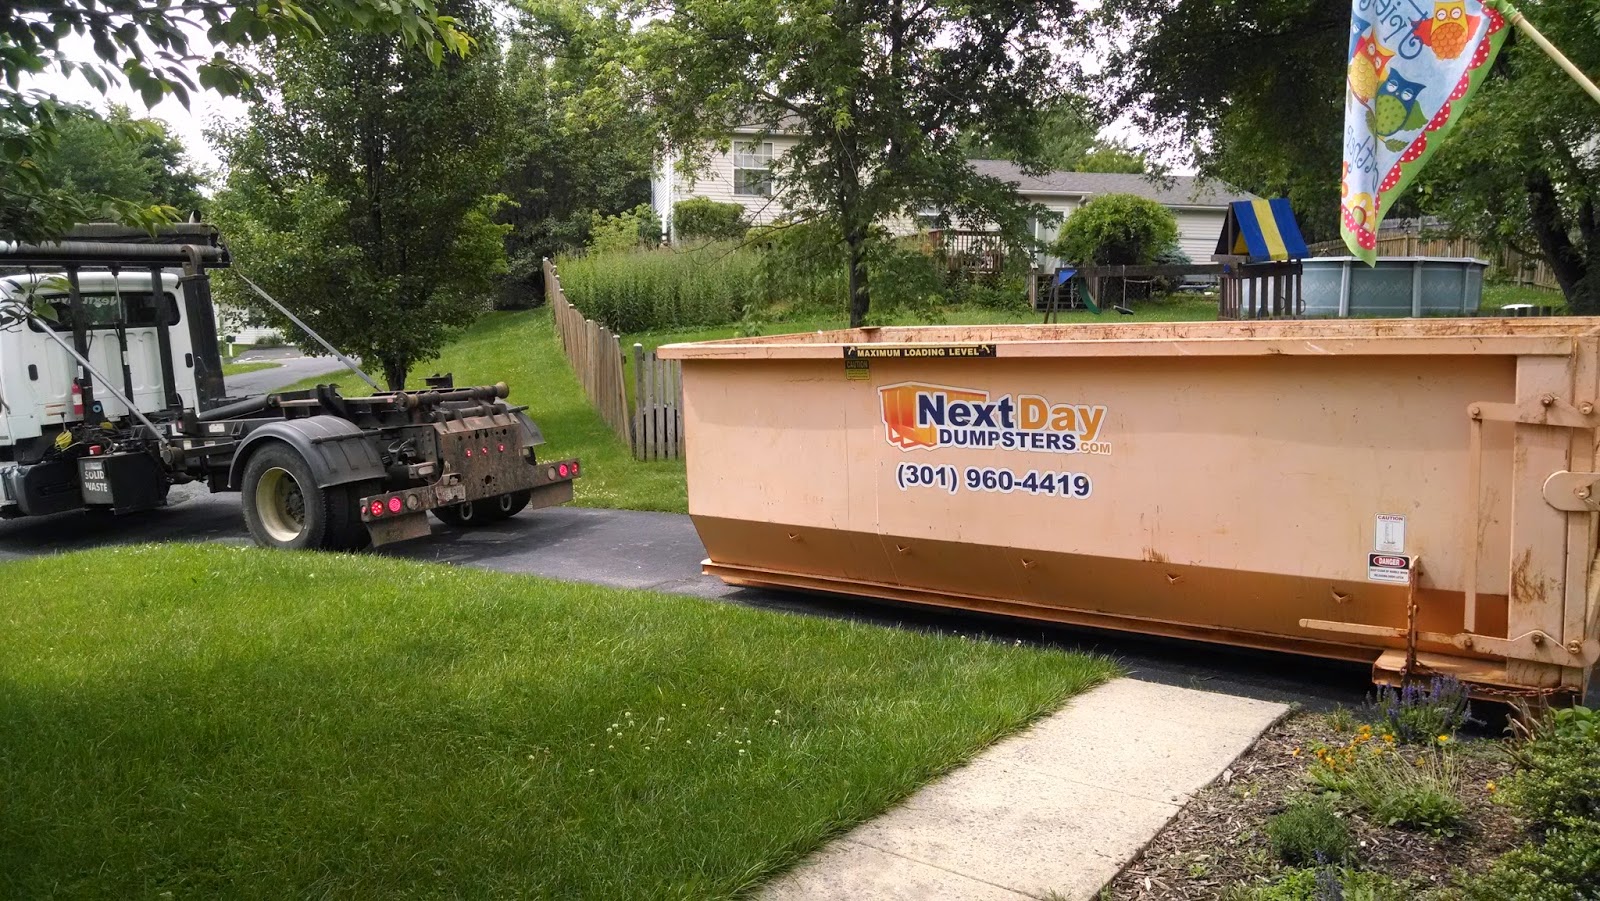 |
| 15 cubic yard dumpster |
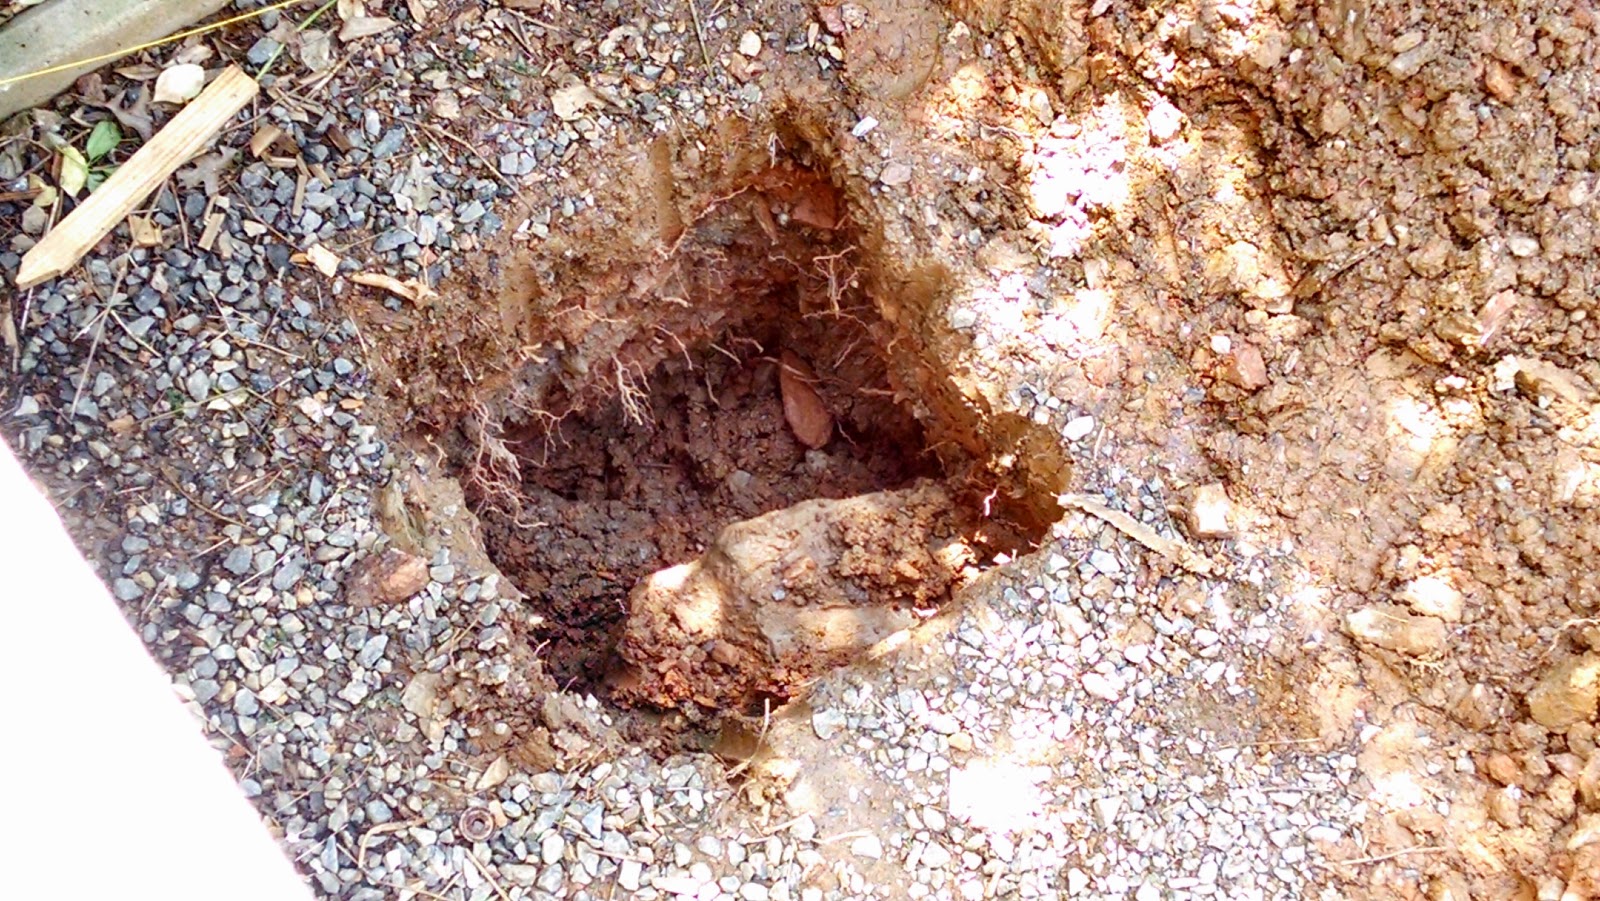 |
| picture doesn't do it just, but this rock covers 40% of the hole and was at least a foot deep |
 |
| 3 of my 10 holes |
I then had a little setback in the schedule as I had to wait for a special order of lumber. There is a LOT of varying opinions online regarding the best way to set posts. Should they sit on concrete piers which come all the way out of the ground? Should they be buried in the ground? If they are buried should you pour concrete all around them? After much deliberation and over-analyzing, I chose to bury the posts in the ground, sitting them on top of the concrete footing and then packing them with alternating layers of gravel and dirt. Additionally, since the posts would be buried I special ordered 6x6 posts which were treated to the
UC4B level of pressure treatment, rated for in ground burial for use in "permanent foundations." These should be good for at least 20+ years. I received my materials on Friday, June 27th from the
local lumber yard - TW Perry and took the day off to pour concrete. I roped Josh into helping again - what a guy! We rented a jackhammer to bust up the rock from that first hole and poured our 8" concrete footings into the bottom of the holes. We then proceeded to drink some well deserved homebrew.
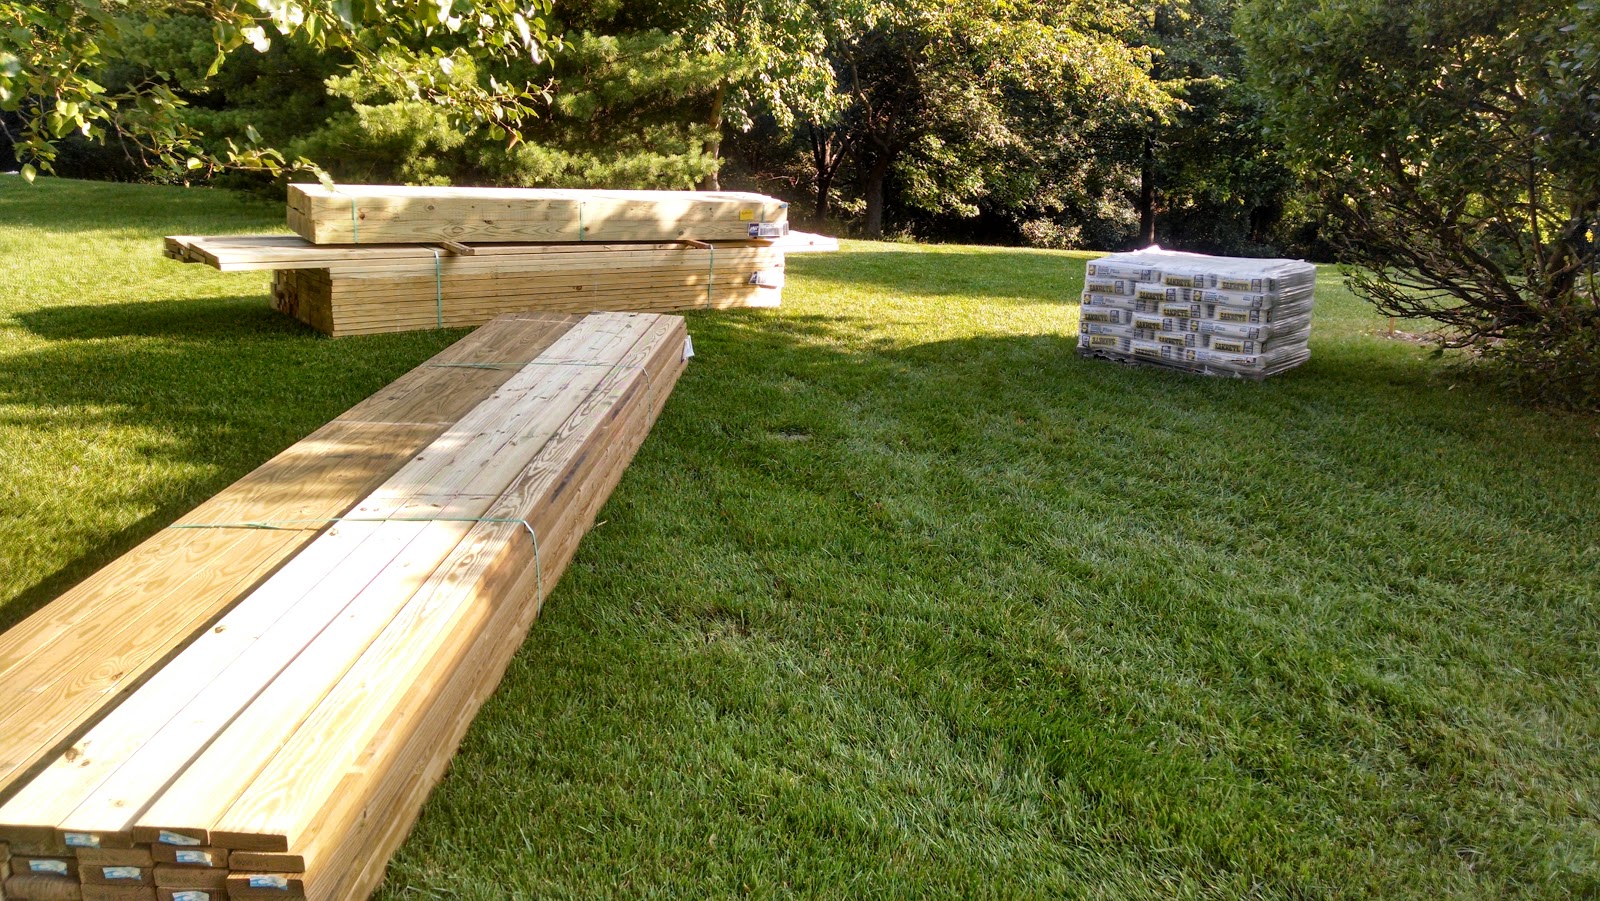 |
| Decking boards front left, all other lumber behind, pallet of concrete to the right |
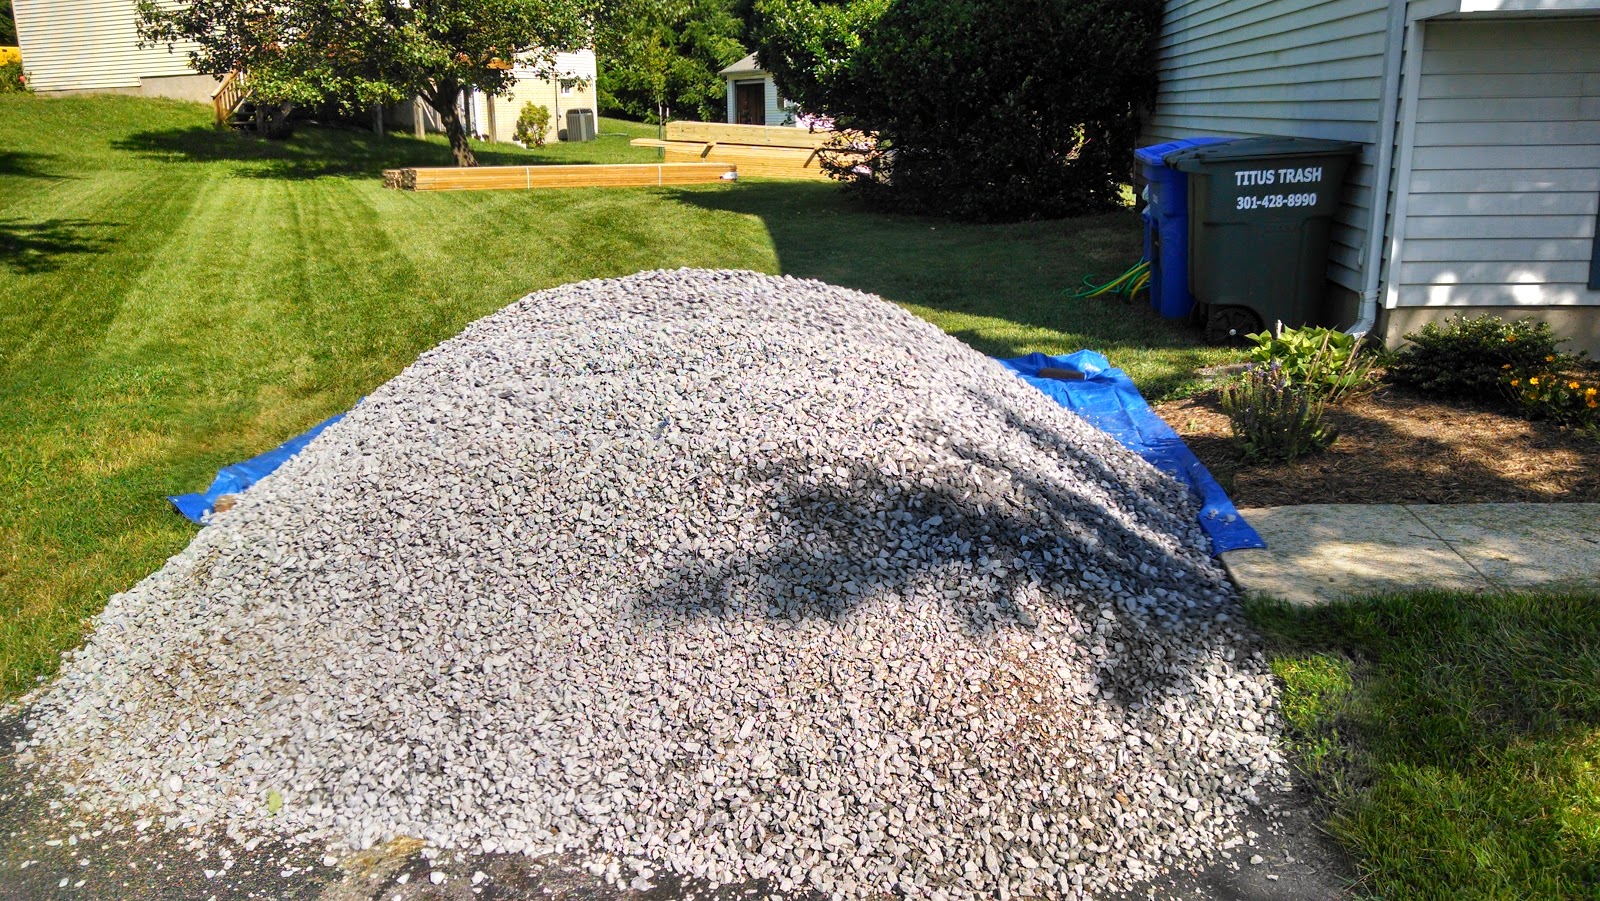 |
| 6 tons of gravel |
I then spent most of the next day remeausring and laying out the exact locations of the posts (took much longer than expected). I then got Mrs. Shegogue Brew to help me keep the posts level and in alignment as I shoveled gravel and dirt in to secure them. Mrs. Shegogue Brew has an excellent natural eye for level and plumb. We finished putting the 6 posts for the 12x16 frame up on Sunday the 29th and I cut the notches in them to hold the 3x12 built-up-beam. We then called it quits as it was dark.
 |
| 1st row of posts set |
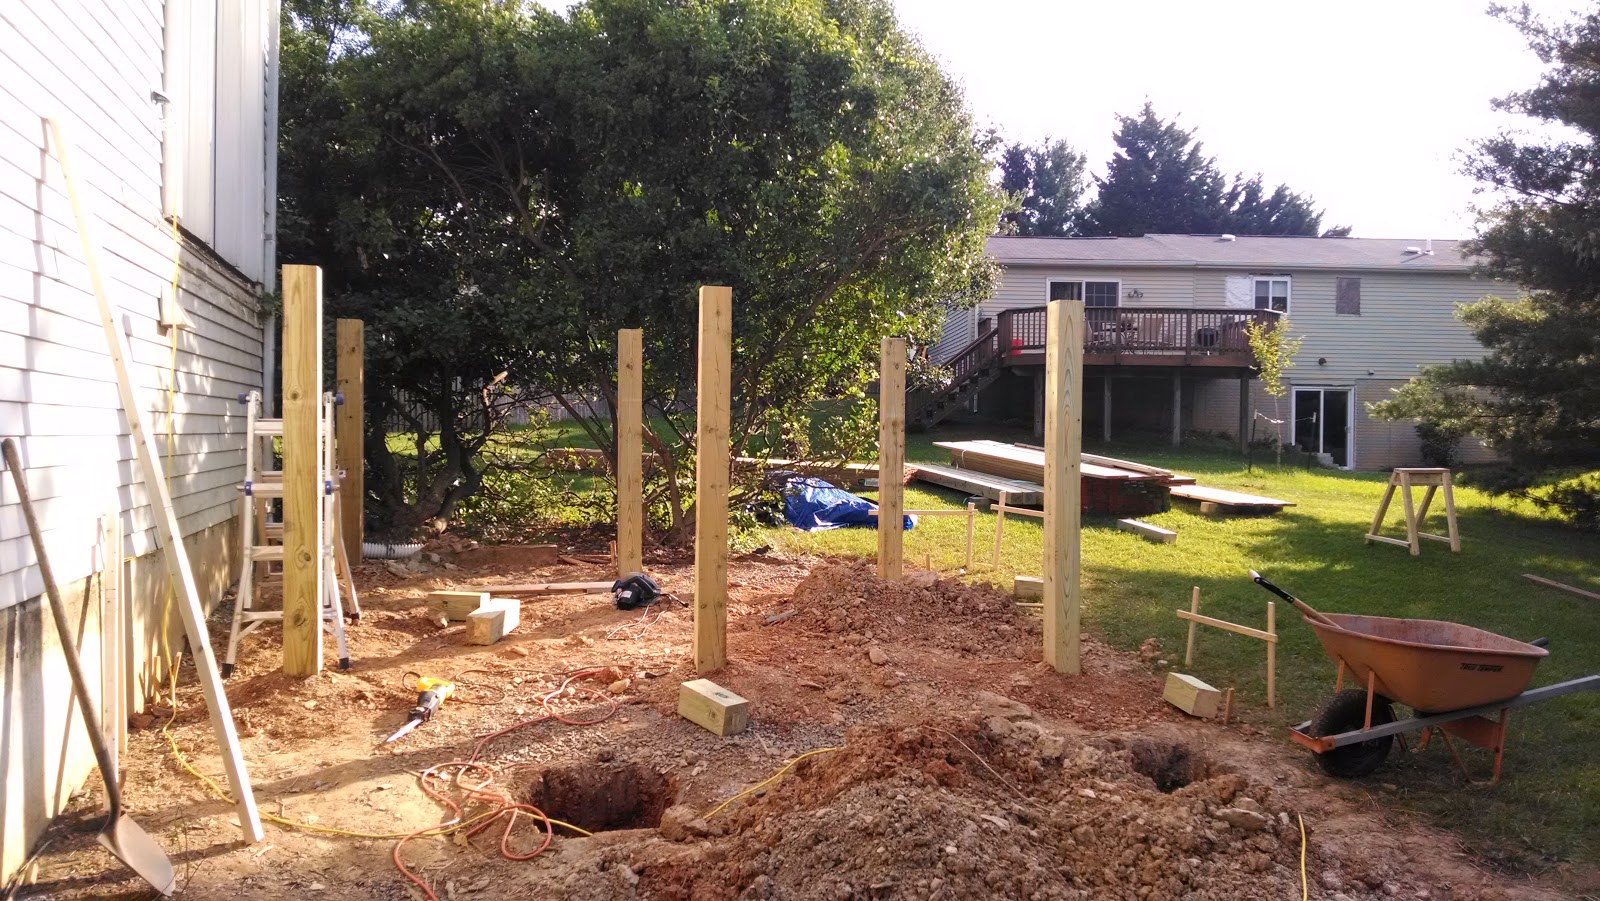 |
| 6 posts set for the 12x16 section |
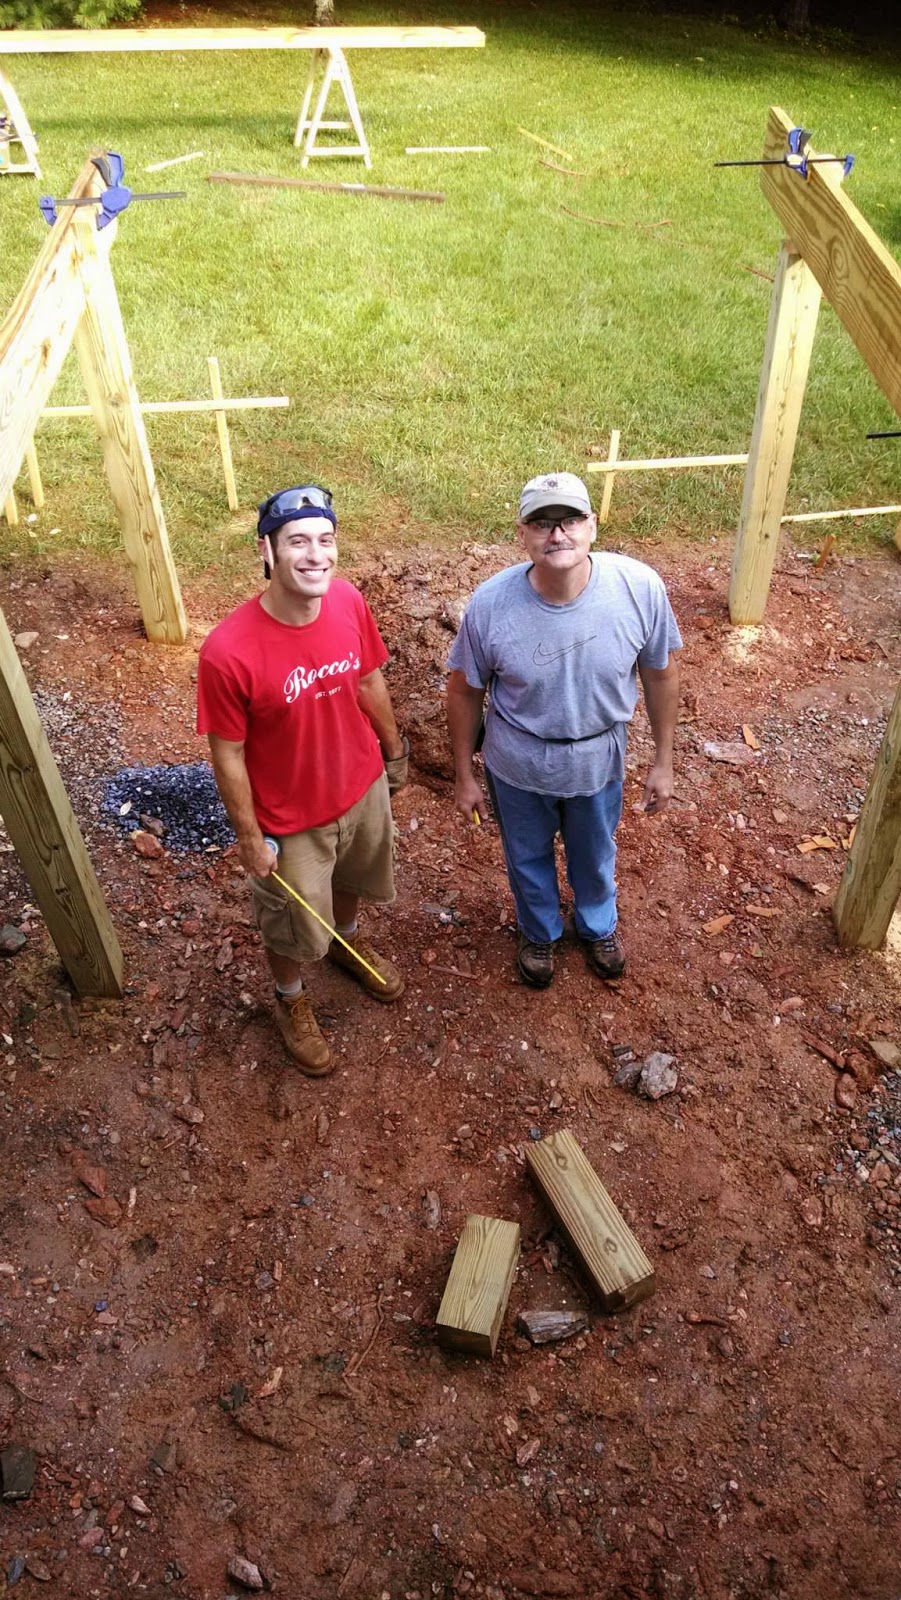
On the 4th of July I got my Uncle-in-law Tom to help with putting up the beams and framing. Uncle Tom is an experienced DIYer and was extremely helpful. We were able to frame up most of the section.
 |
| Placing the first beam! |
 |
| Mrs. Shegogue Brew requested a smile for the photograph...you'd think she was a photographer or something! |
 |
| Didn't measure each individual board so we had to make some cuts |
 |
| view from the ground |
|
|
 |
| first boards laid down to lock the frame "in square" |
 |
| More boards laid down |
Over the next couple of weekends I was able to lay the flooring and
frame up the second 12x12 frame thanks to my friend Alton. I laid most of the floorboards on the weekends and finished
screwing them in on the weeknights. I also hammered in my hurricane
ties and added diagonal bracing during the weeknights after work.
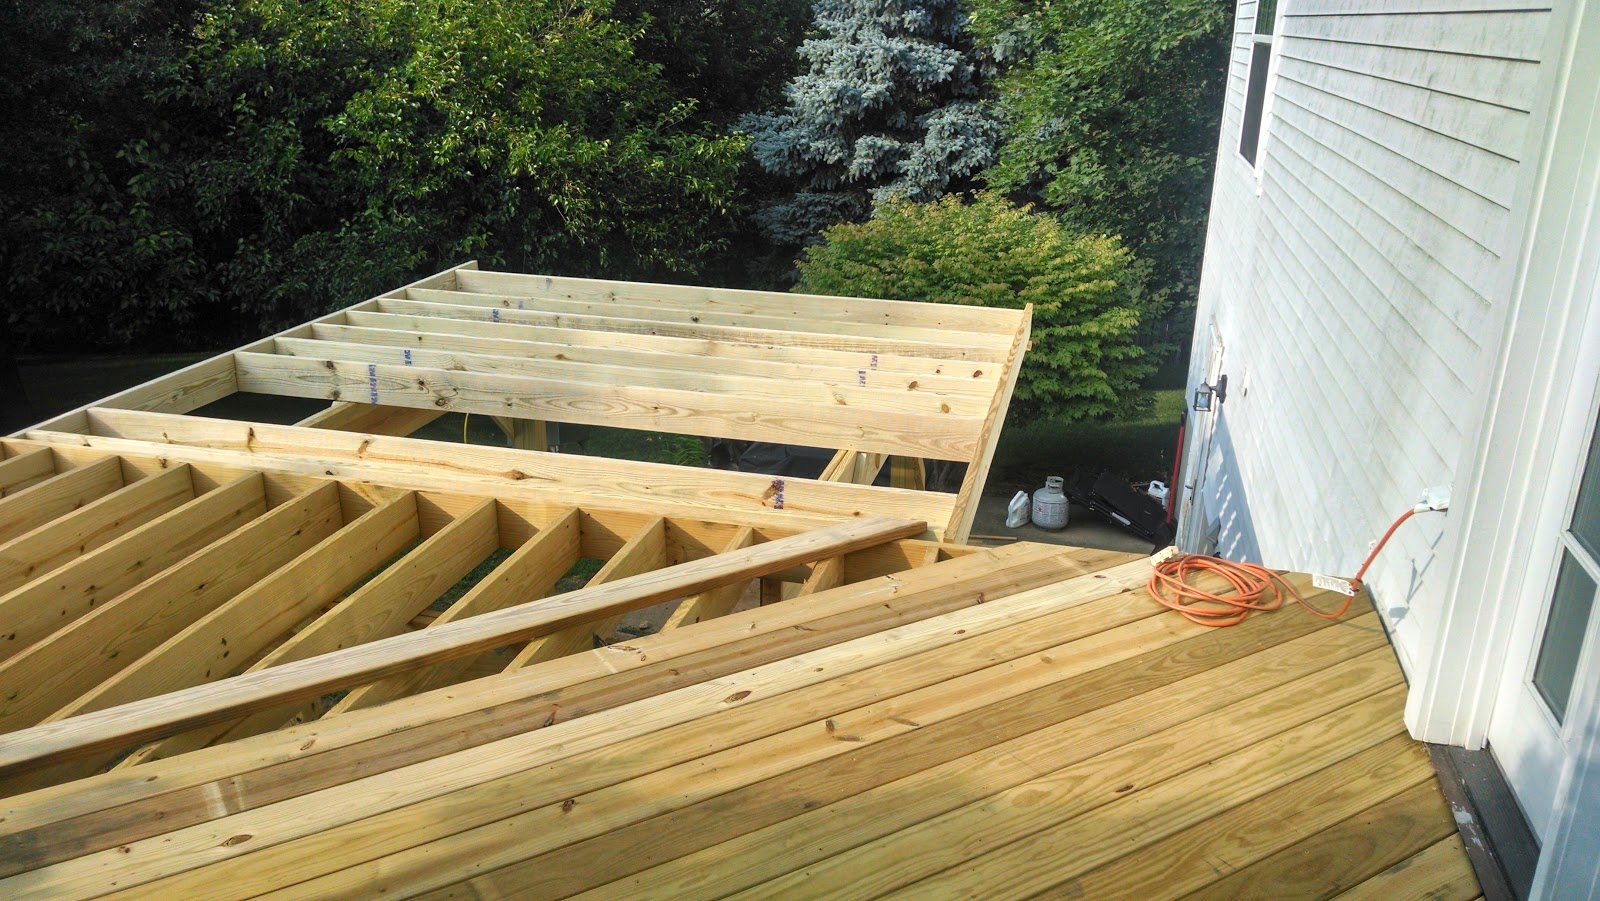 |
| 12x12 section almost framed |
 |
| Its getting big! |
 |
| Location of the stairs |
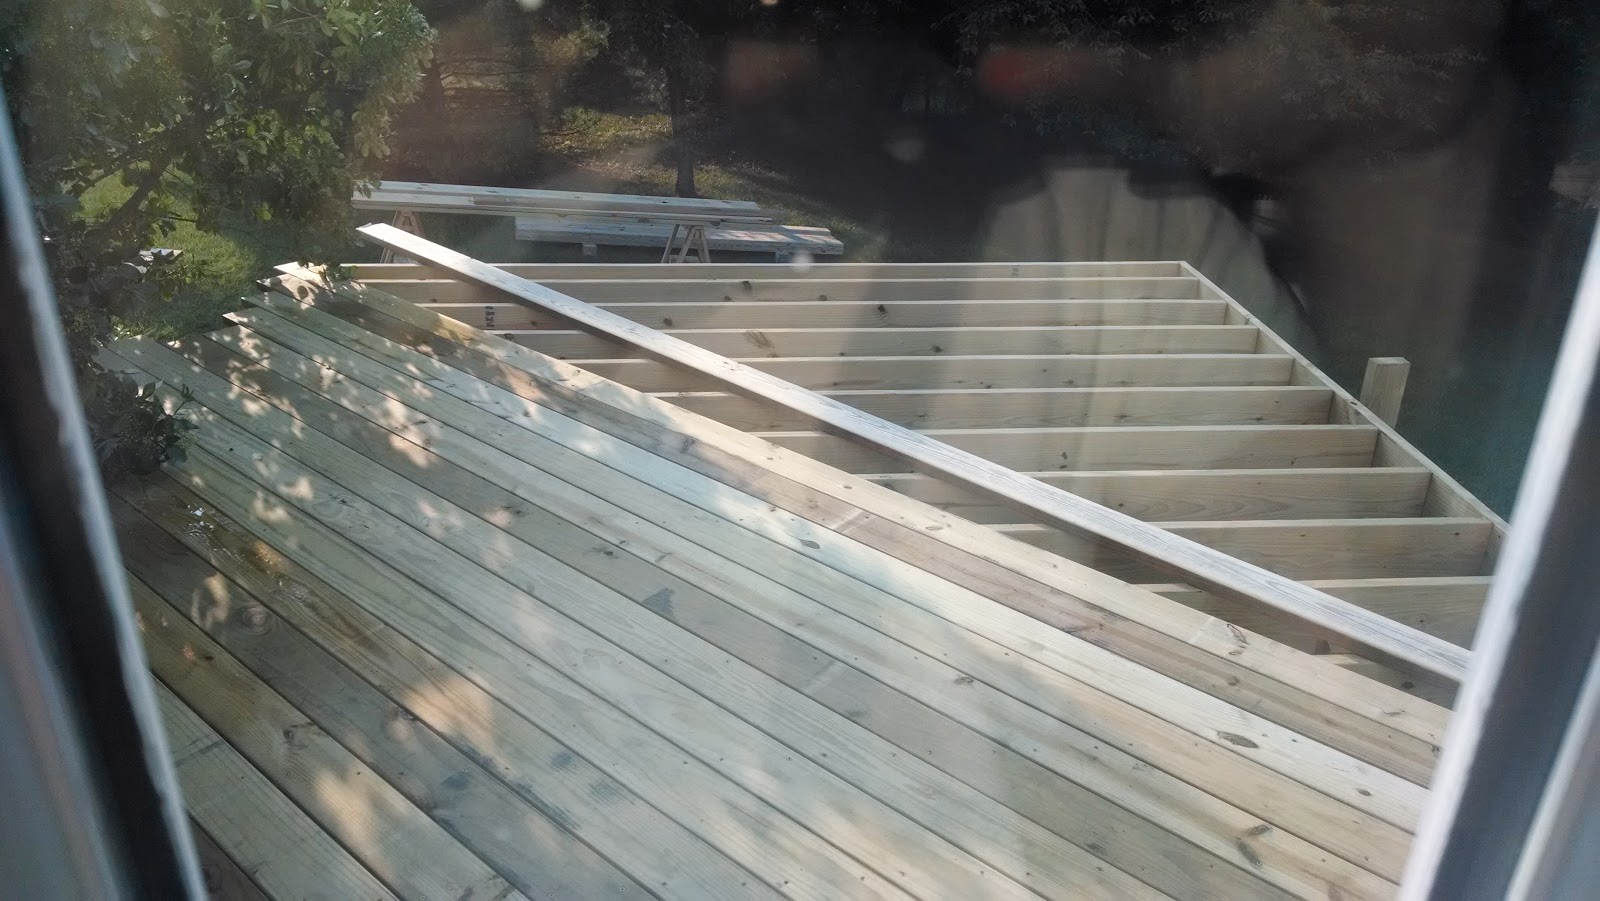
Over the July 19th weekend I was able to bring this thing closer to its final appearance as I finished flooring the entire structure. I then cut off the excess and its looking real sharp!
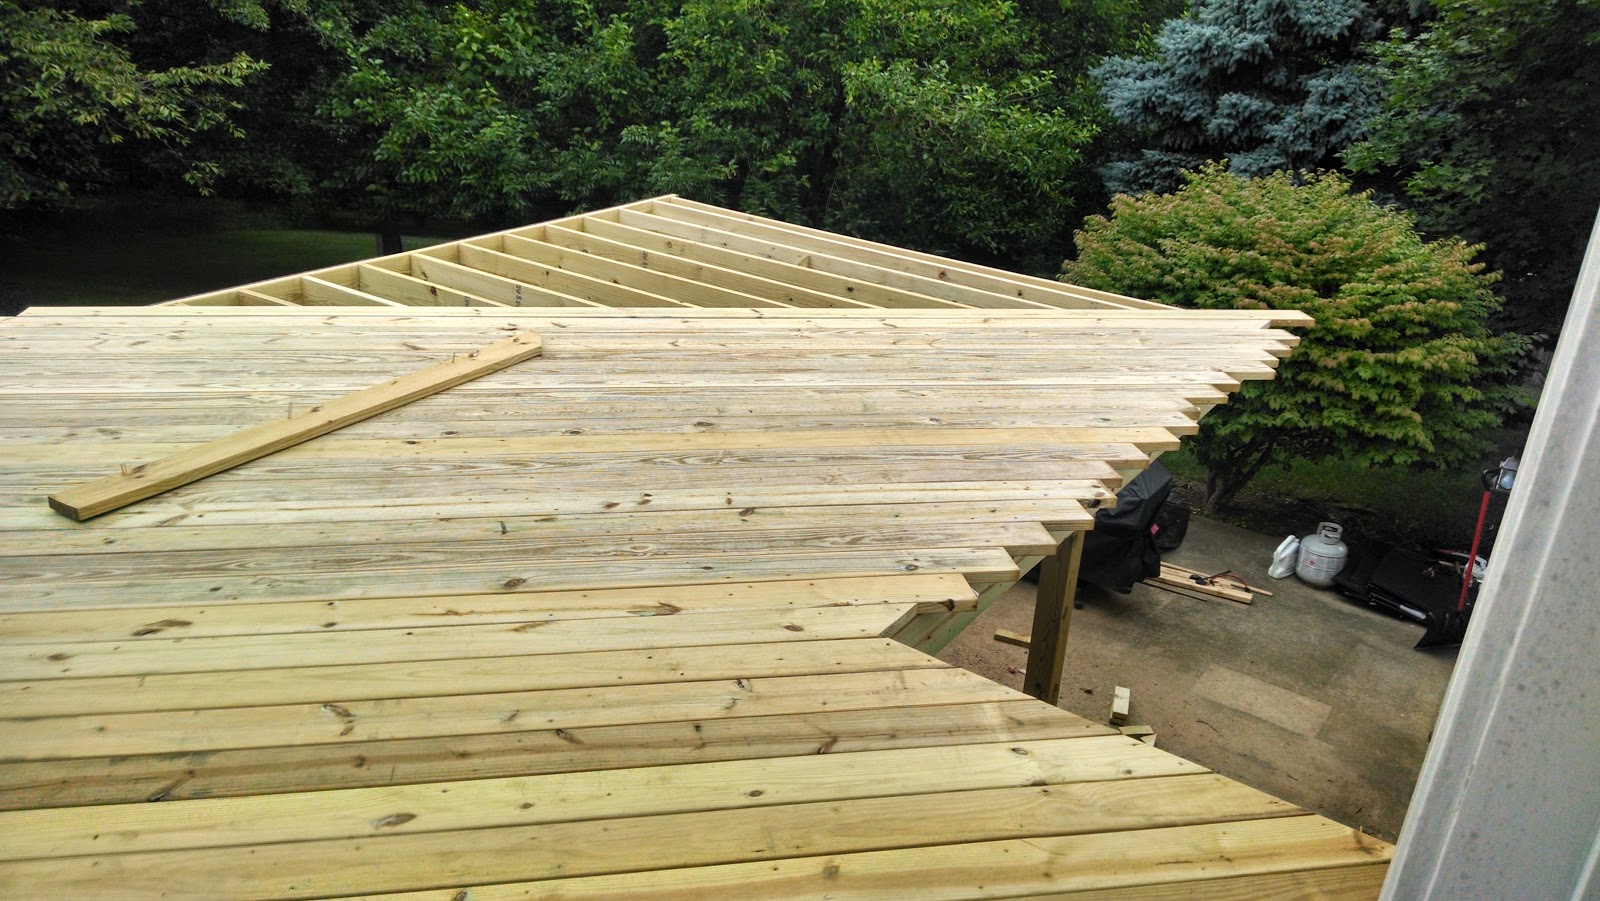 |
| flooring, almost done! |
 |
| excess trimmed off! |
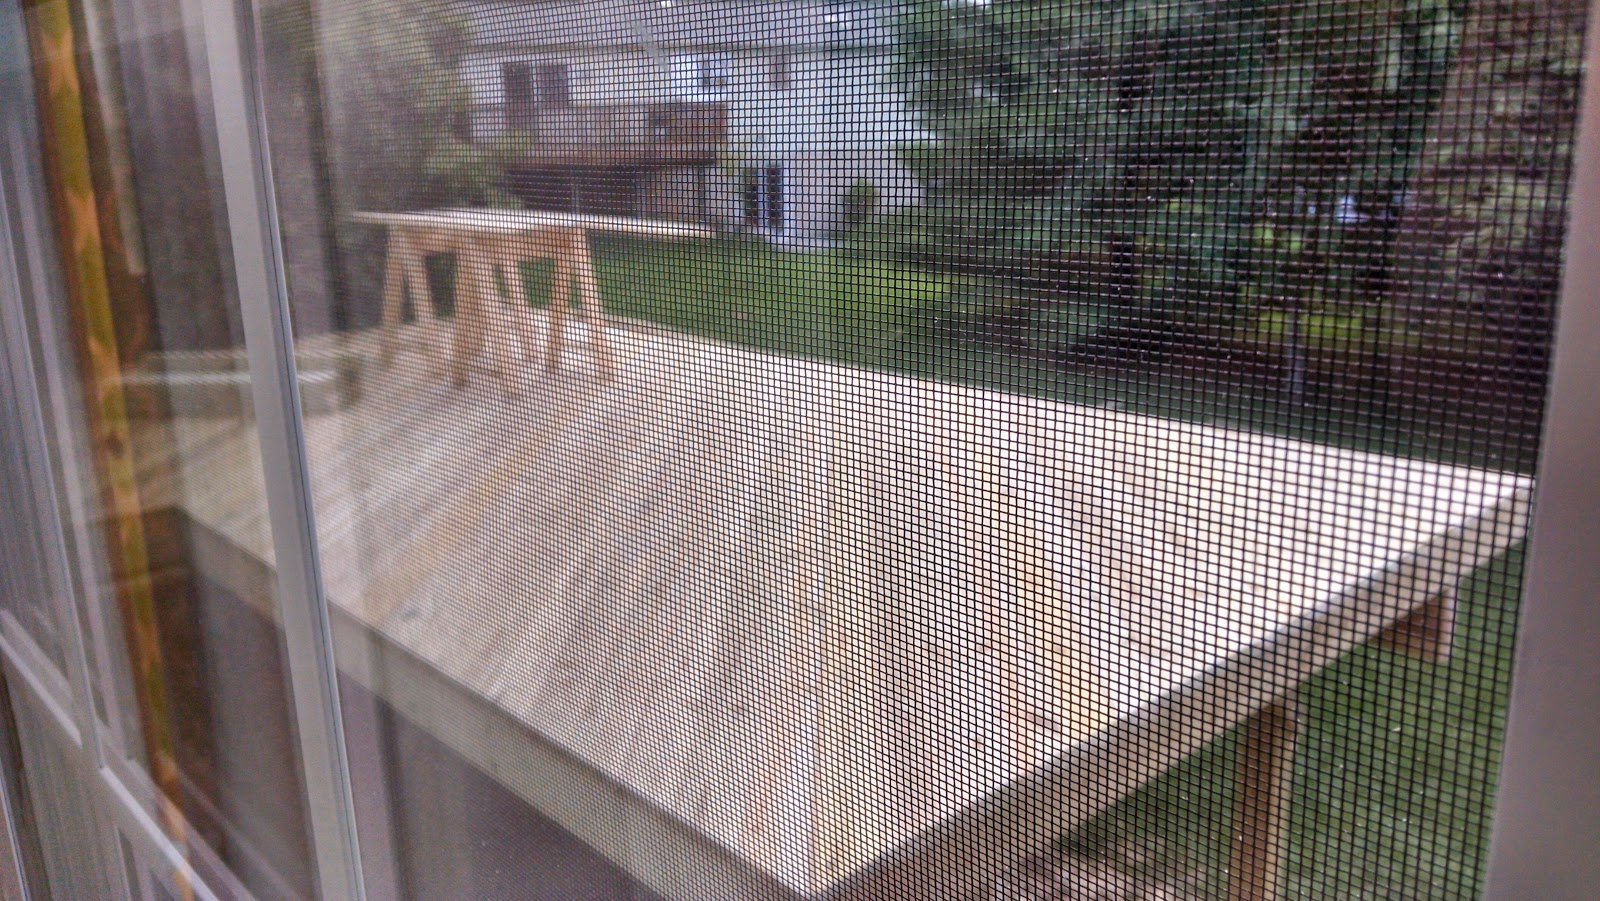 |
| Alternate view, through the window of our bedroom |
The following weekend I tackled the Stairs. On paper putting a 3 foot wide stairway in a 4 foot area would be easy. In realty it wasn't, and there was lots of room for error! Luckily during the week I mentally thought about how to go about this task. It required me to bolt the 4x4 stairway posts to the stair stringers prior to attaching the stringers to the outer joist. This was my first time cutting stair stringers, and thanks to some handy online calculators, it was a pretty simple job. After installing the stringers and laying the treads, I realized I hadn't leveled the bottom, doh! The following weekend I had to dig underneath the bottom of the stairs and pack it in with gravel to level the structure.
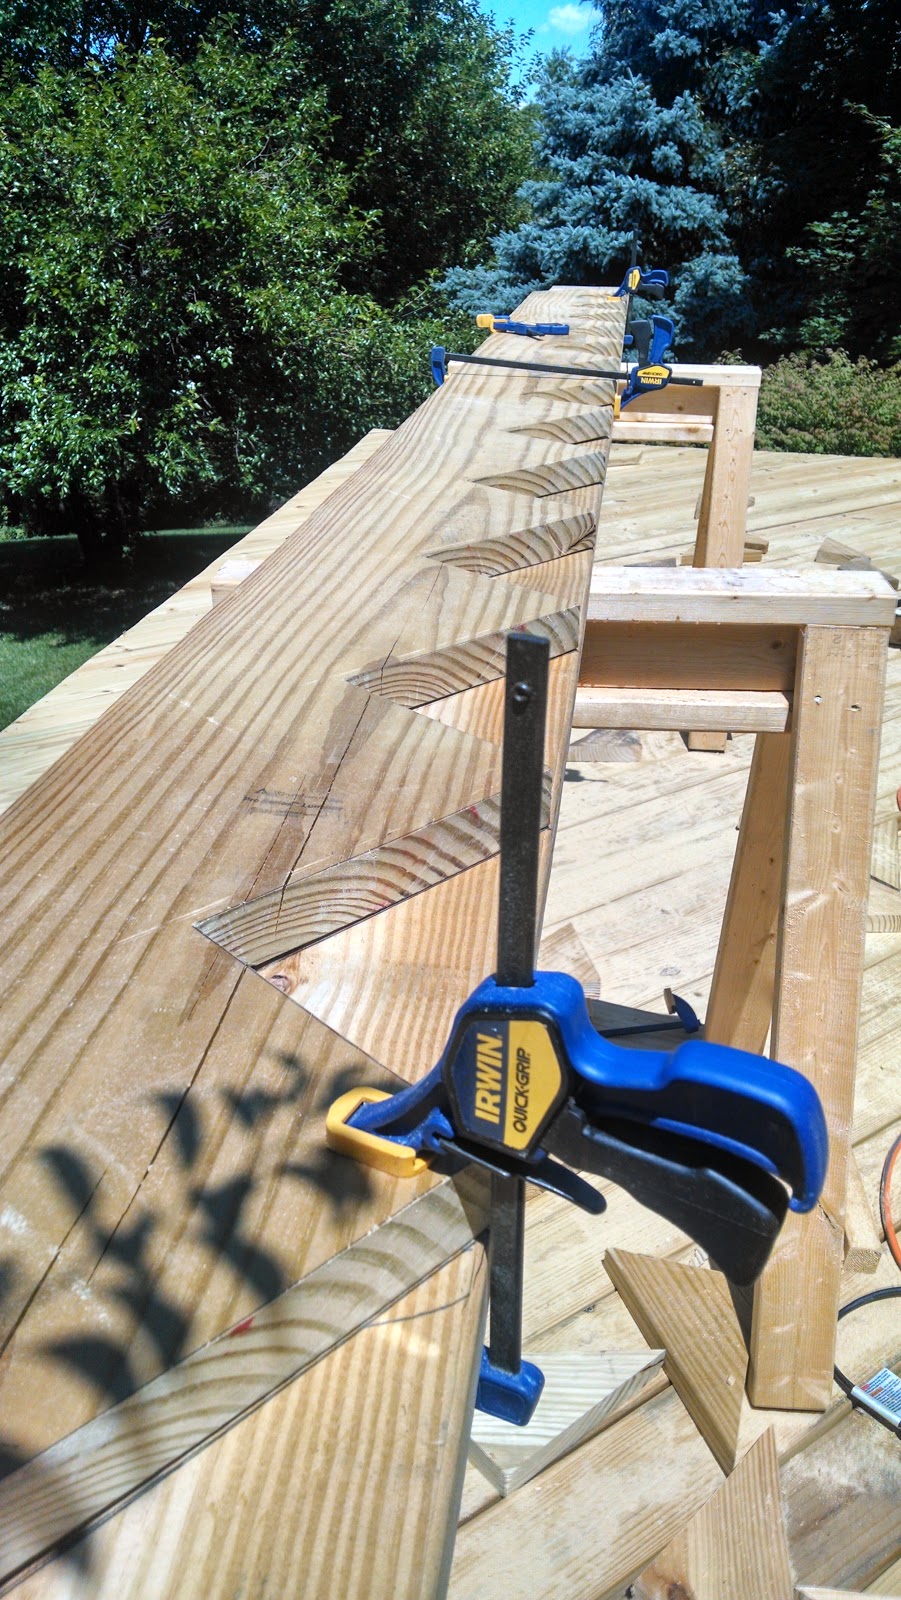 |
| My first Stringer being used as a template for the other 2. I checked to make sure this stringer landed in the correct location before cutting the other 2. |
 |
| View from the top! Blocking was added since the 2x12 middle stringer had warped from sitting in the sun the past few weeks. |
 |
| Now I don't have to keep moving the ladder around to get to the deck surface! |
|
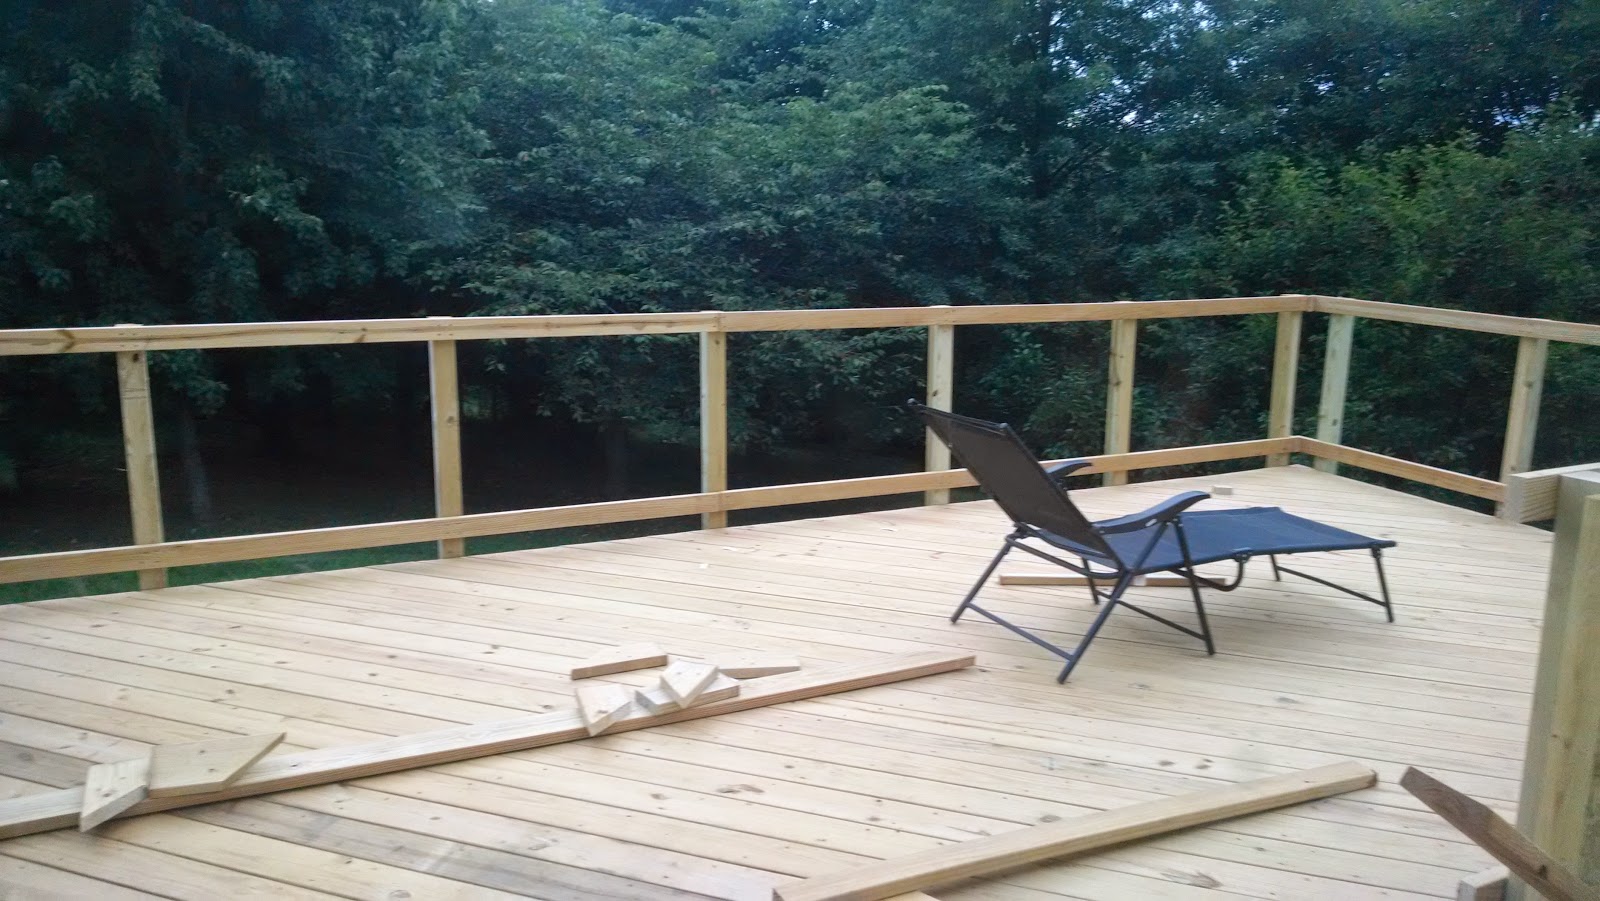
We are now heading into the first weekend of August and I started to tackle the deck railings. I cut all of the 4x4 posts to length and then screwed in a 2 x 6 scrap piece to create a template so all the posts would sit at the same height on the deck. I bolted all of the posts into the outer/rim joist and then screwed in my 2x4 rails. The next day called for rain, so instead of starting to put the pickets up (didnt want to start and stop) I finished a bunch of little things - nailing in the remaining hurricane ties and leveling my stairs. By the way, it didnt rain at all, ha!
The following weekend (August 9th/10th) I set up a stop jig so I could rapidly cut down my 12' 2x2 pickets into 36" lengths. I then used a 2x4 (3.5" wide) block to help me evenly space the pickets all the way around the railings and meet code. I took a picture later in the week after it had rained and I think it makes the deck look really sharp.
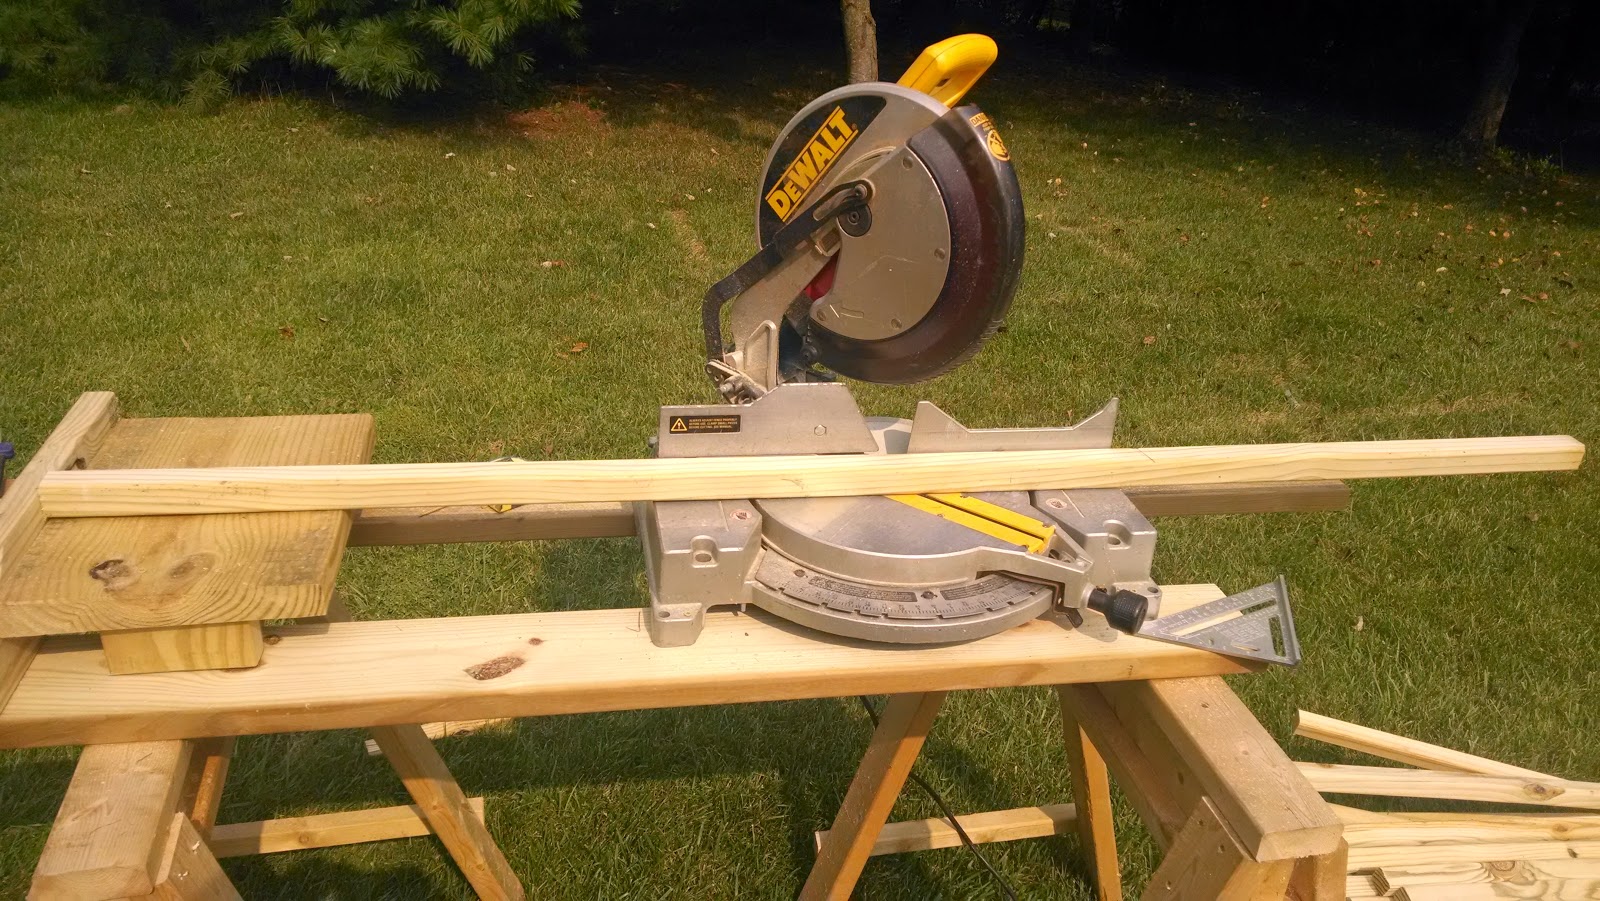 |
| I cut the 2x2 pickets into 6' lengths and then shove an end to my stopper jig and cut. Ended up with 2 - 36" pickets each time |
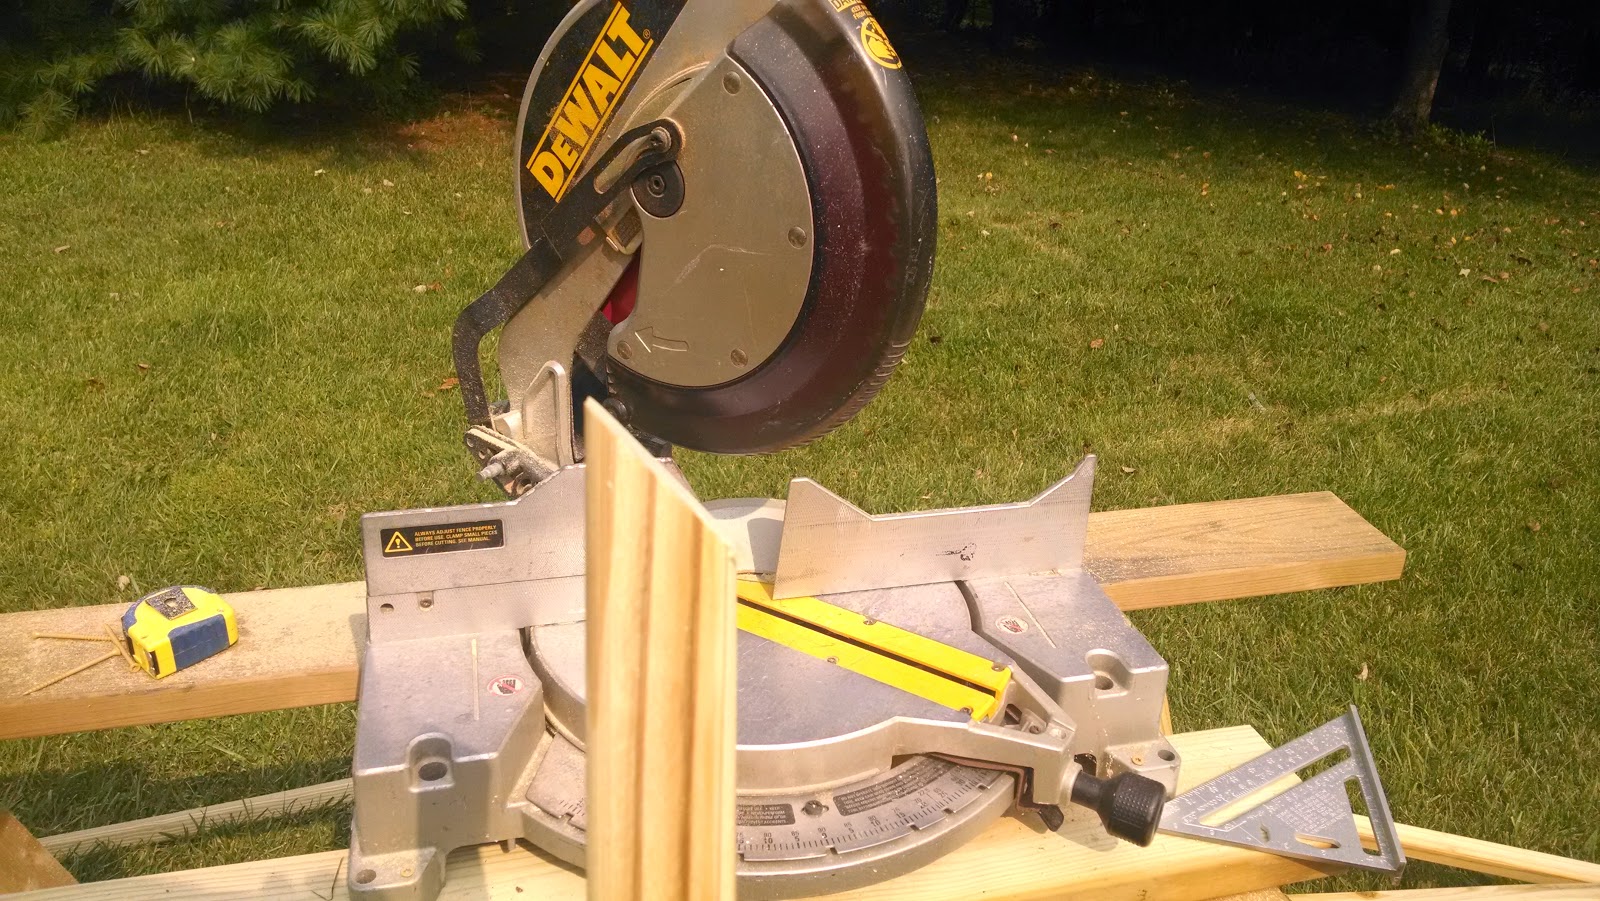 |
| Cut them at a 45* angle to make them more aesthetically pleasing |
 |
| Hmmm....it appears Mrs. Shegogue Brew has been soaking up the sun as I slave away :) |
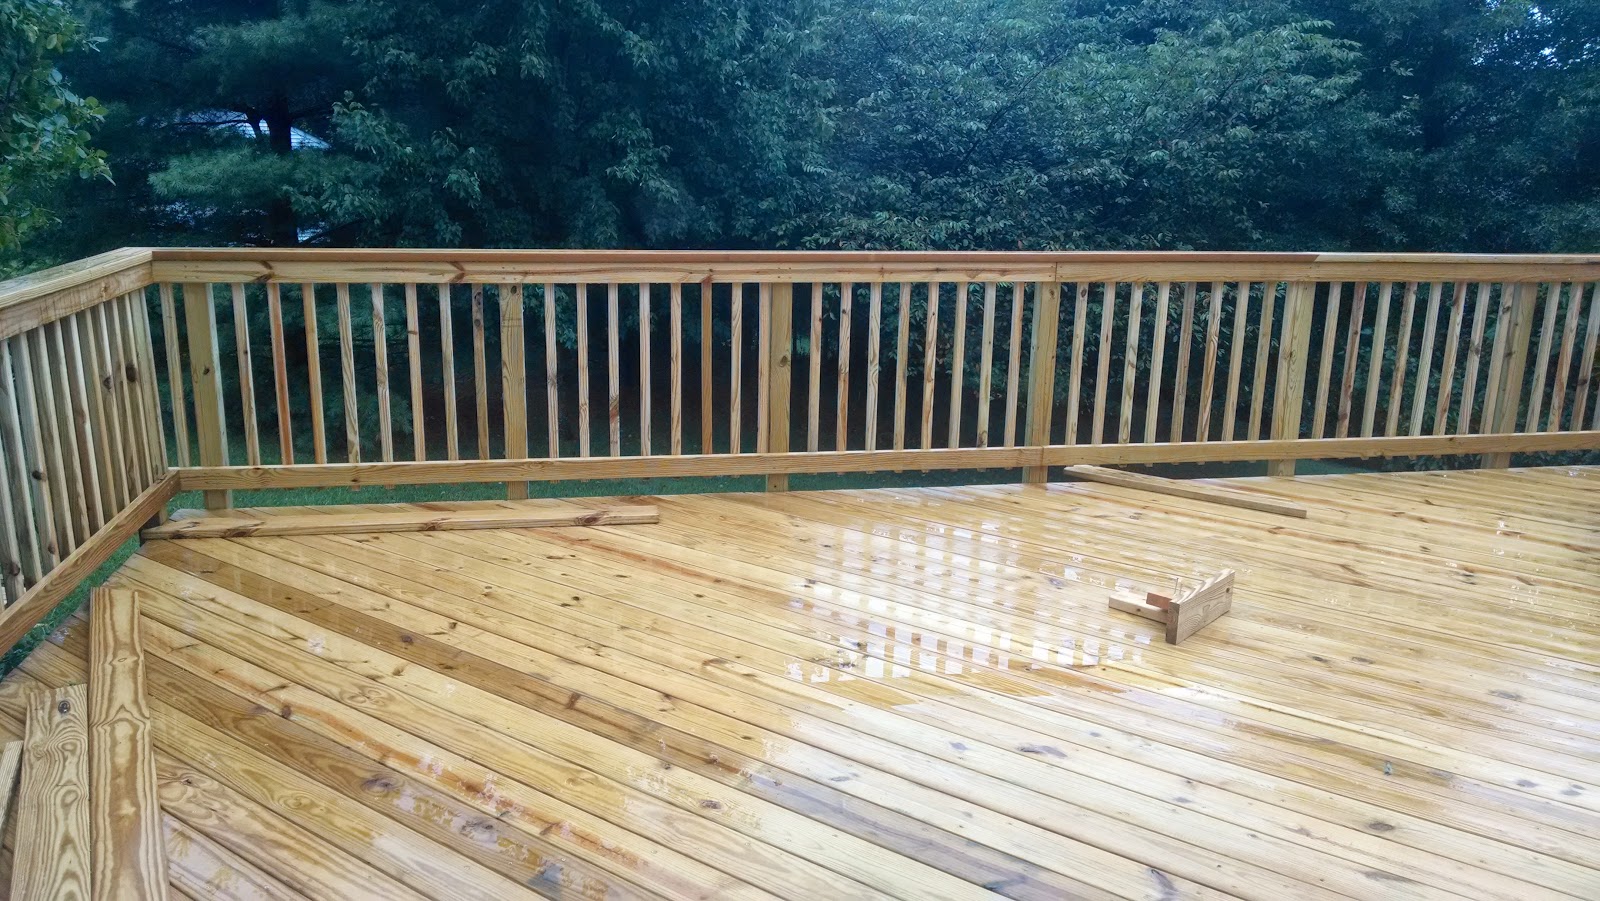 |
| Right after a rainstorm, the deck looks real bright. |
August 16th, all deck progress was halted in the name of beer! Hey this is a brewing blog, right? I had to brew up a bunch of beer since I was running low and was planning some deck parties for September. I started 5 gallons of hard cider, brewed an IPA and a Witbier to fill all my available fermenters (two 6 gallon better bottles and two 3 gallon better bottles). Everything went pretty smoothly despite my kinda "wingy" the recipes. Still without my computer and brewing software so I used the blog to look at old recipes. I created the IPA to be very similar to
Wrong Coast and the Wit was the
Witty Welker, however, I correctly used flaked wheat this time around.
Sorry, no pictures of brewday...I know, I am a slacker :)
The following weekend I was able to add some lag screws and blocking to meet code. I then capped the stairwell with a 2x6 and installed a graspable handrail. I had to finish the handrail and sand the ends of the railings down the next Monday night. On Wednesday, August 27, 2014 a county inspector came while I was at work for the final inspection...
 |
| Blocking added - I was skeptical at the need for this, but there was a little play to the railings prior to adding it. Aftwerwards it was solid. |
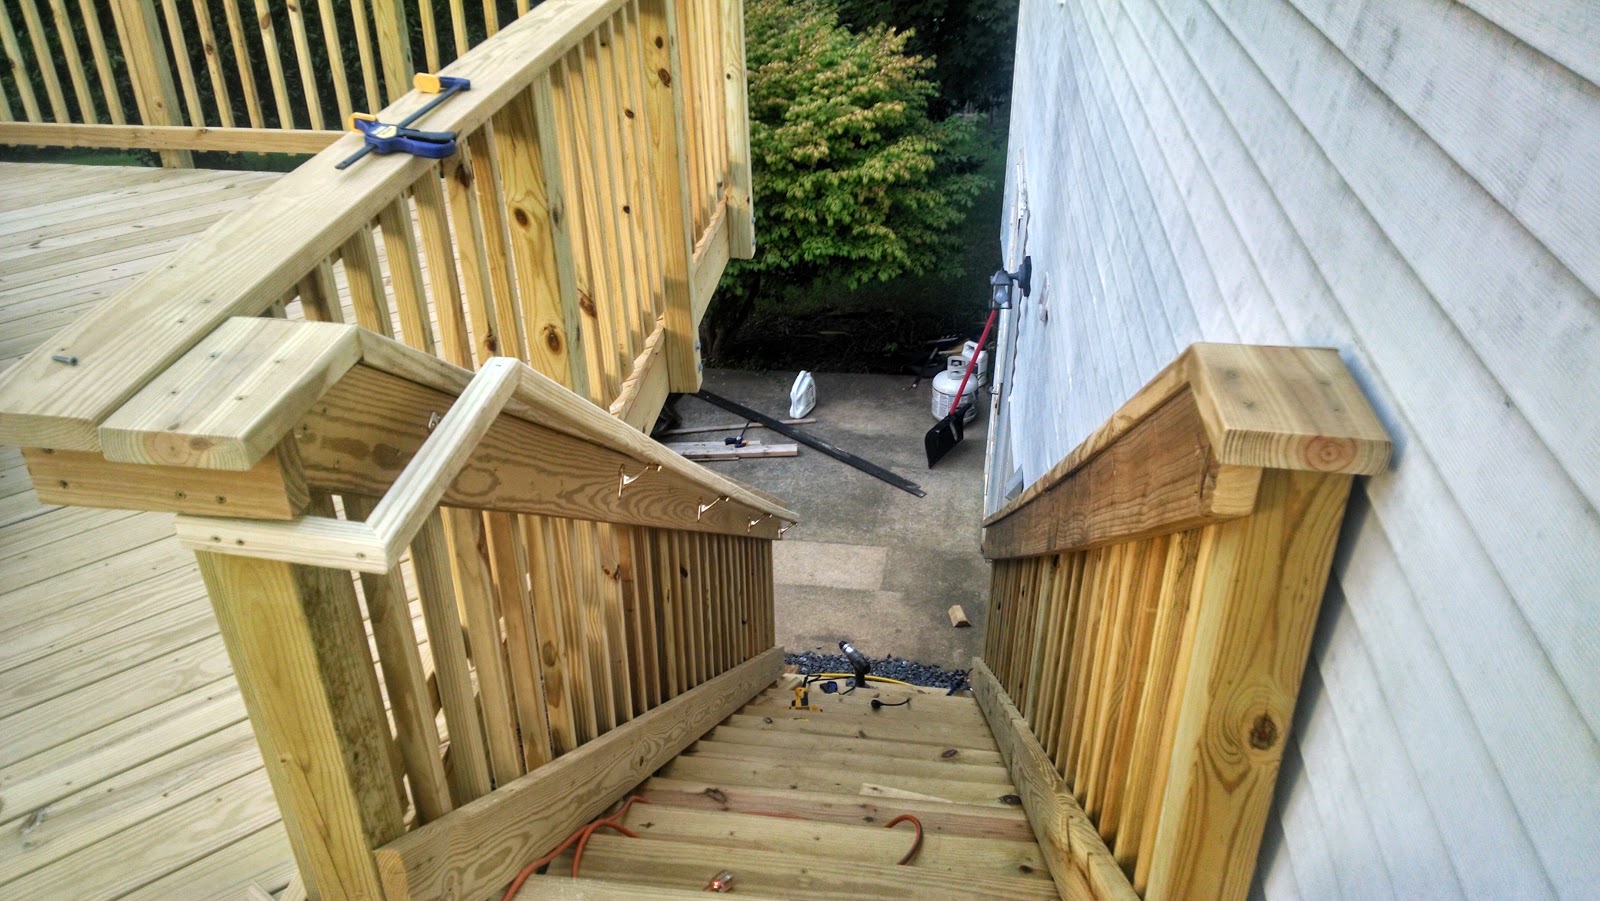 |
| Handrail installed! |
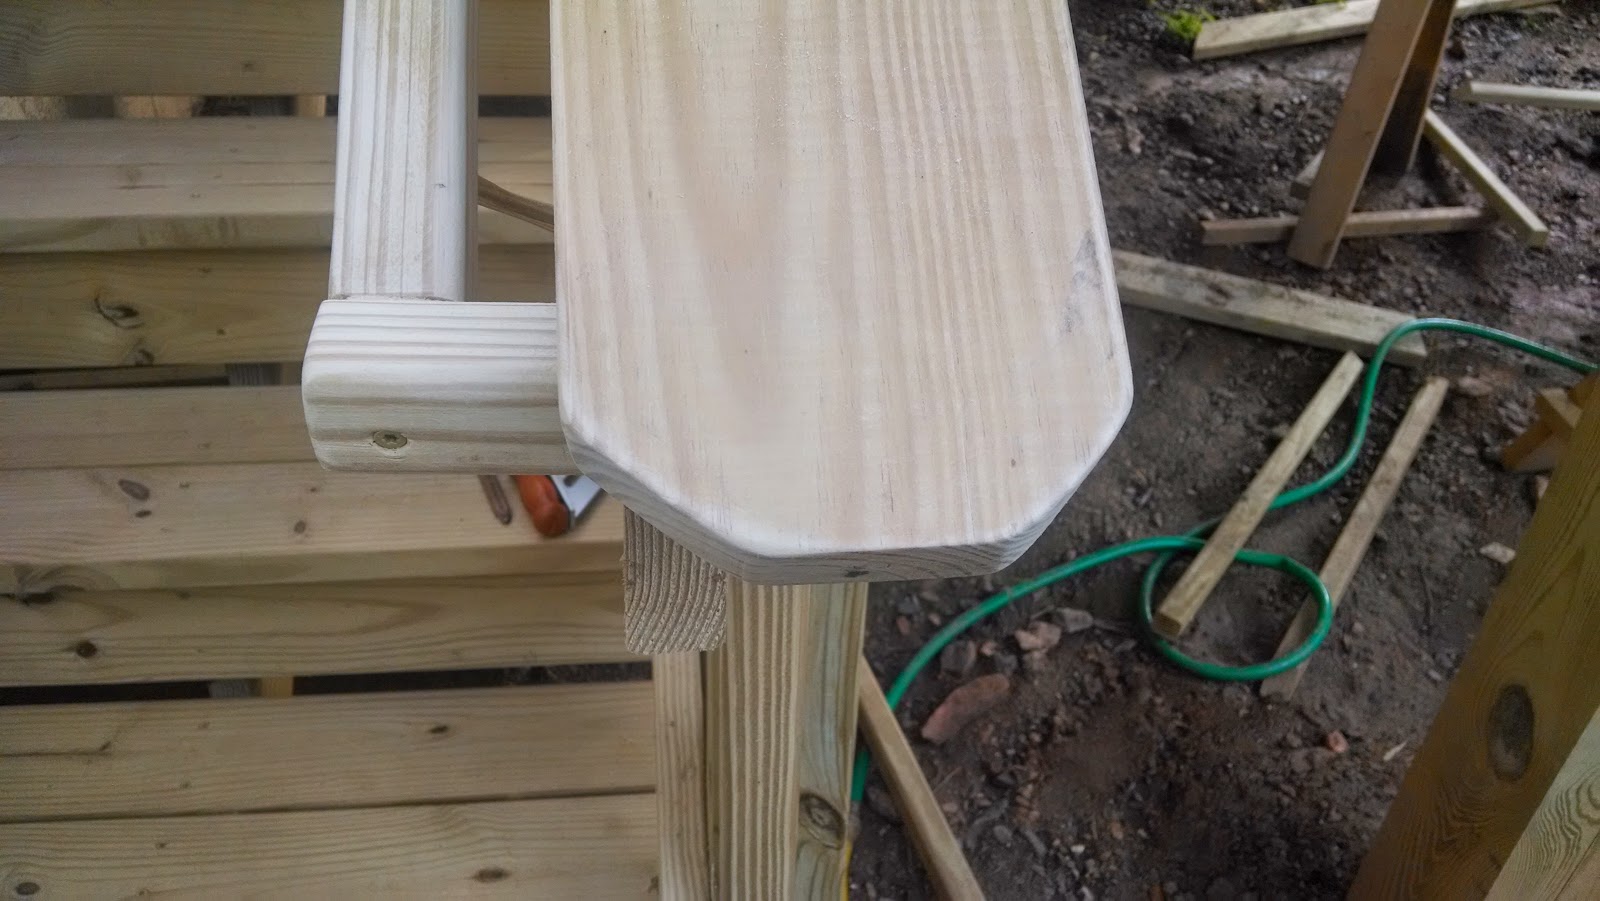 |
| Sanded the bottom of the 2x6 cap so there would be no sharp edges |
 |
| View from below! Looks pretty nice, huh? |
|
|
So I guess you are in suspense wondering if I passed or not? Well, I did! Very happy to start to get my weekends back to a somewhat less productive schedule :) Finished just in time to have family over for Labor Day cookout on the deck!
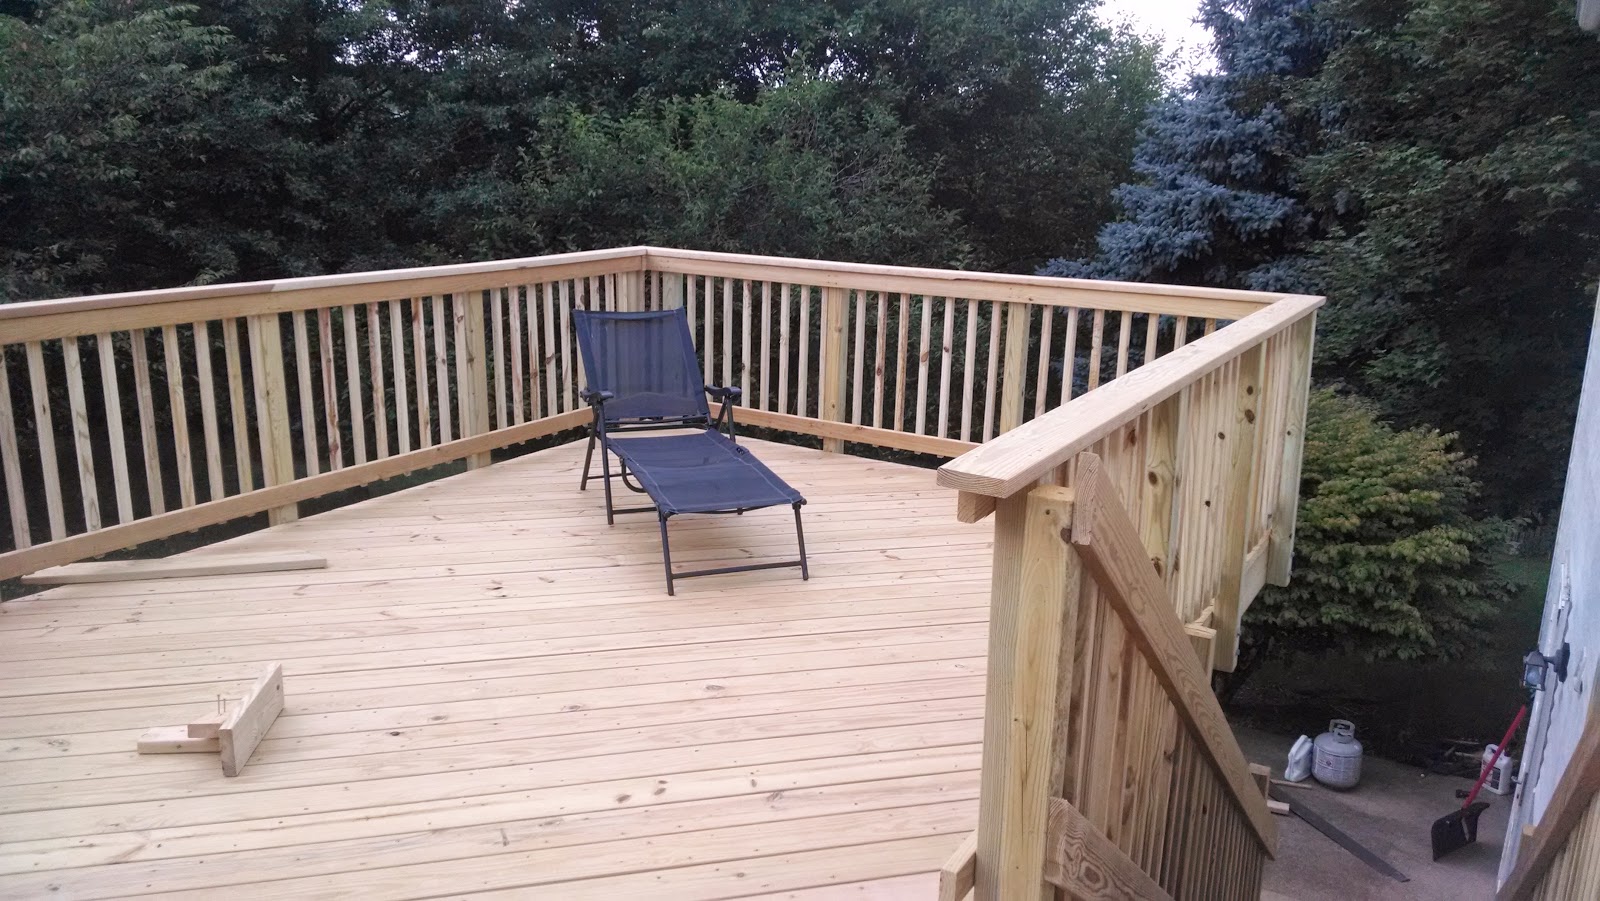
The following weekend I installed a screen door and I started to spread gravel beneath the deck. Due to work, Mrs. Shegogue Brew Finished the task all day Thursday September 4th - Quite impressive! I also quickly whipped up some benches for guests to sit on since we have not purchased any patio furniture yet.
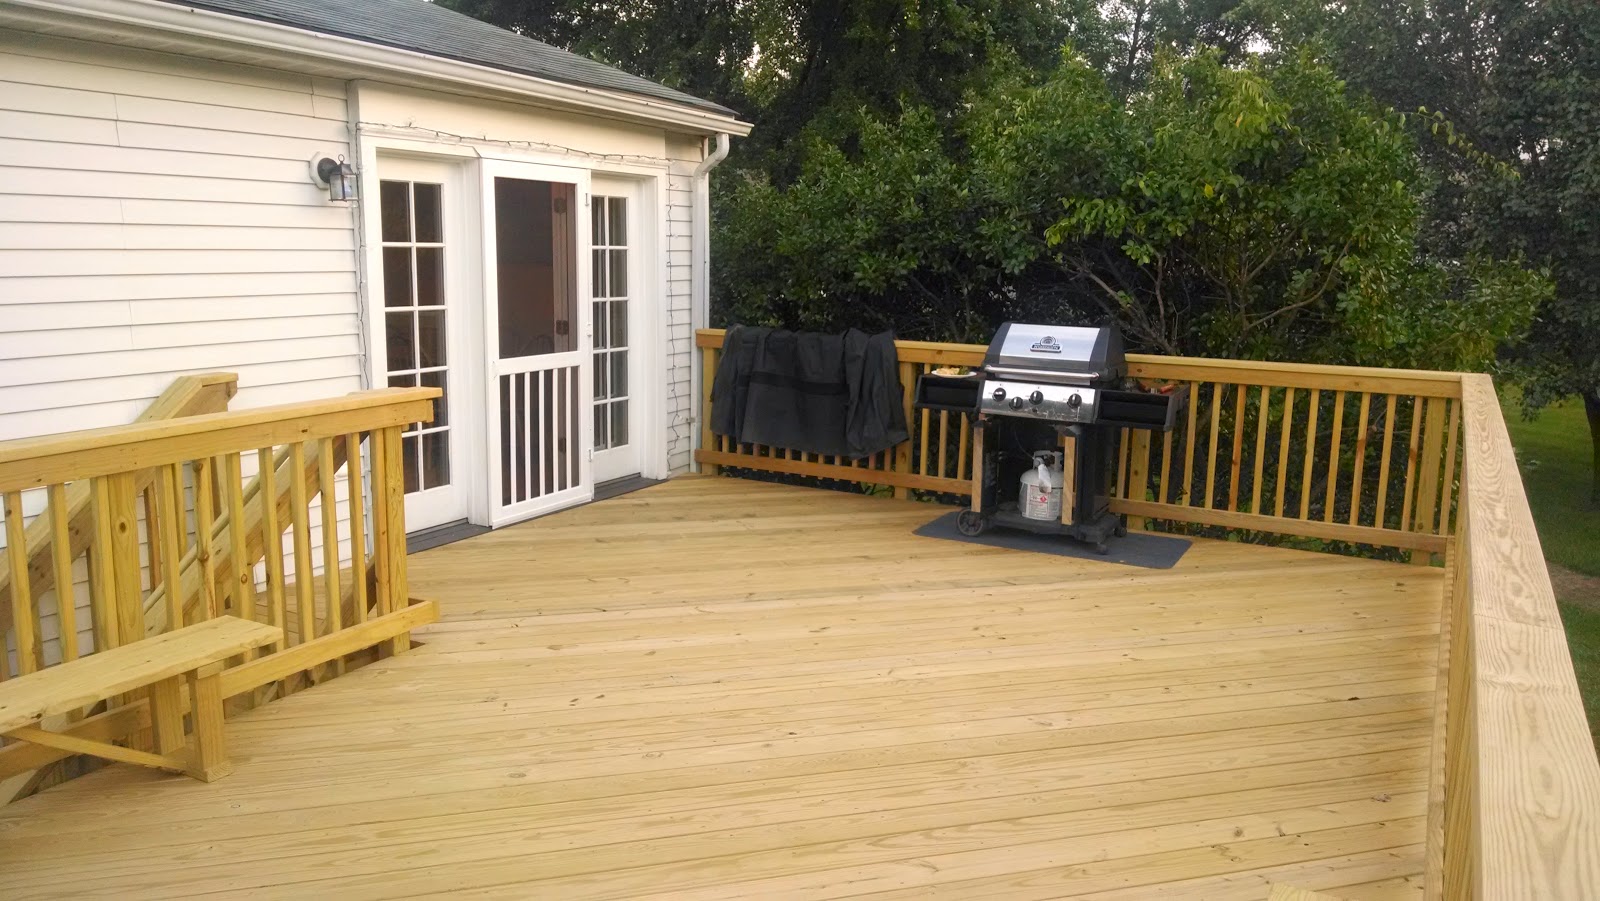 |
| View of Deck from far corner |
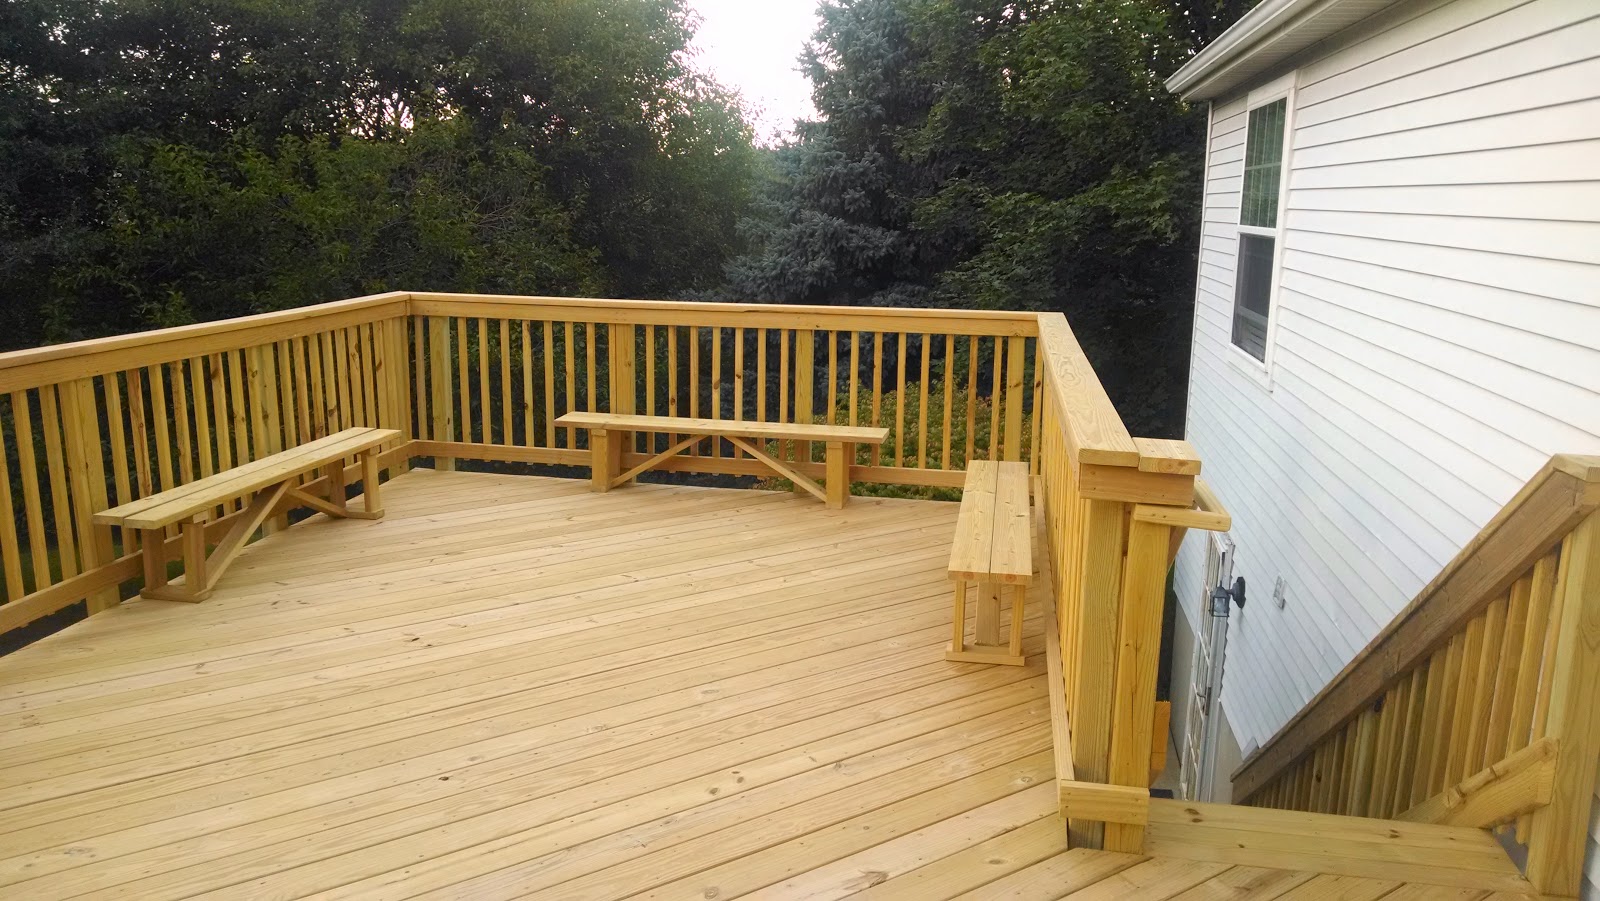 |
| View of deck opposite side - benches in view |
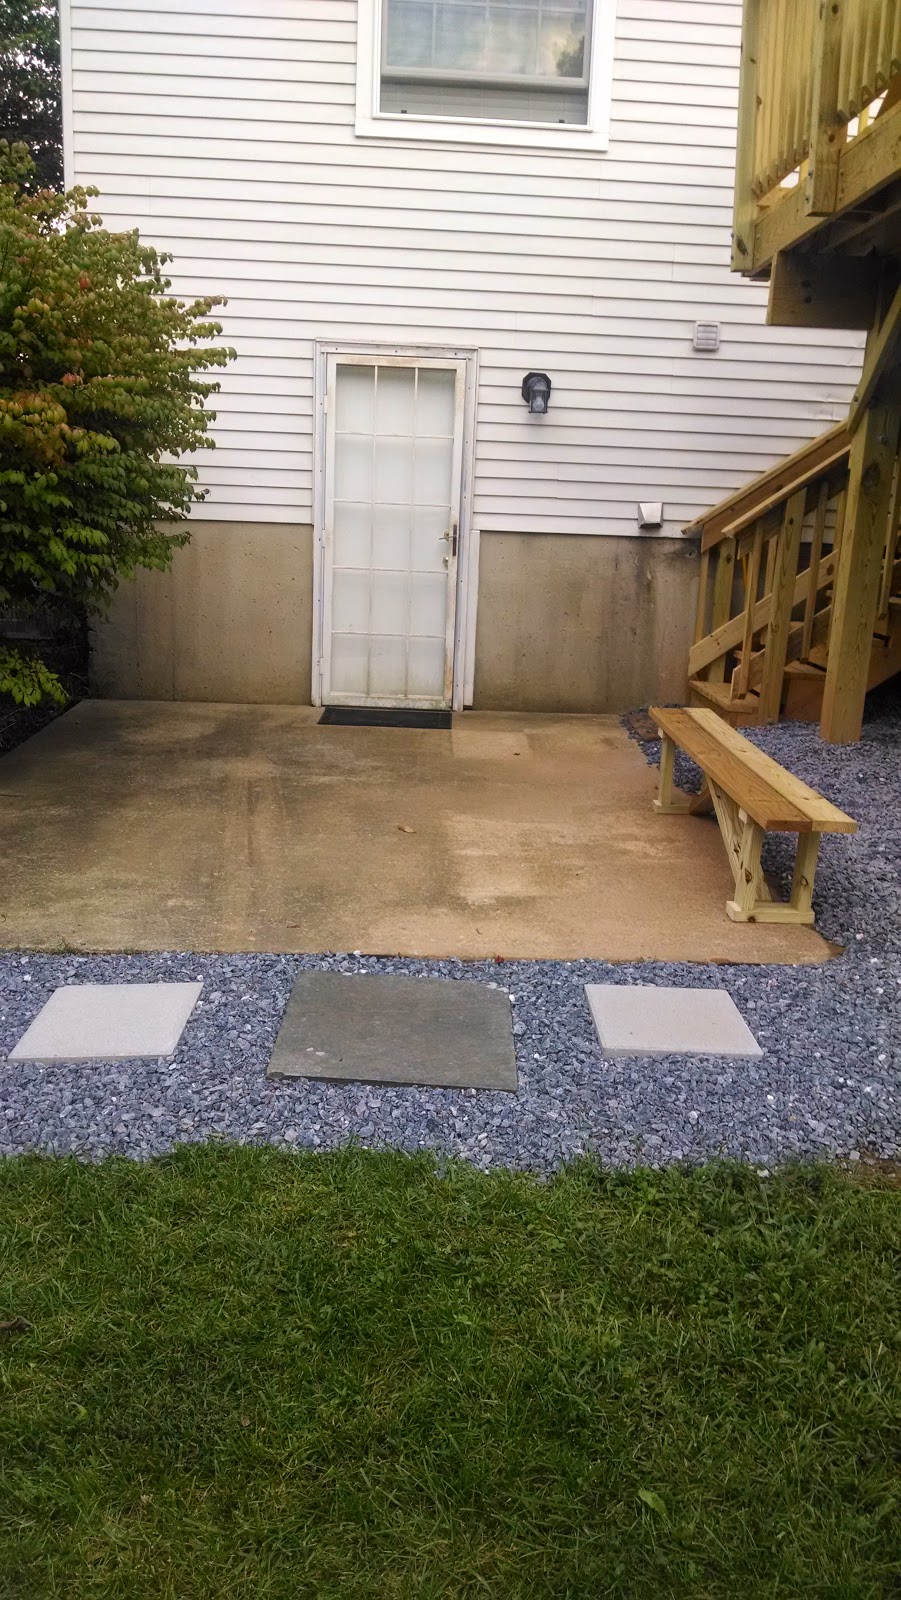 |
| Added two patio stones to the existing one and filled with gravel to prevent a trip hazard with the concrete slab |
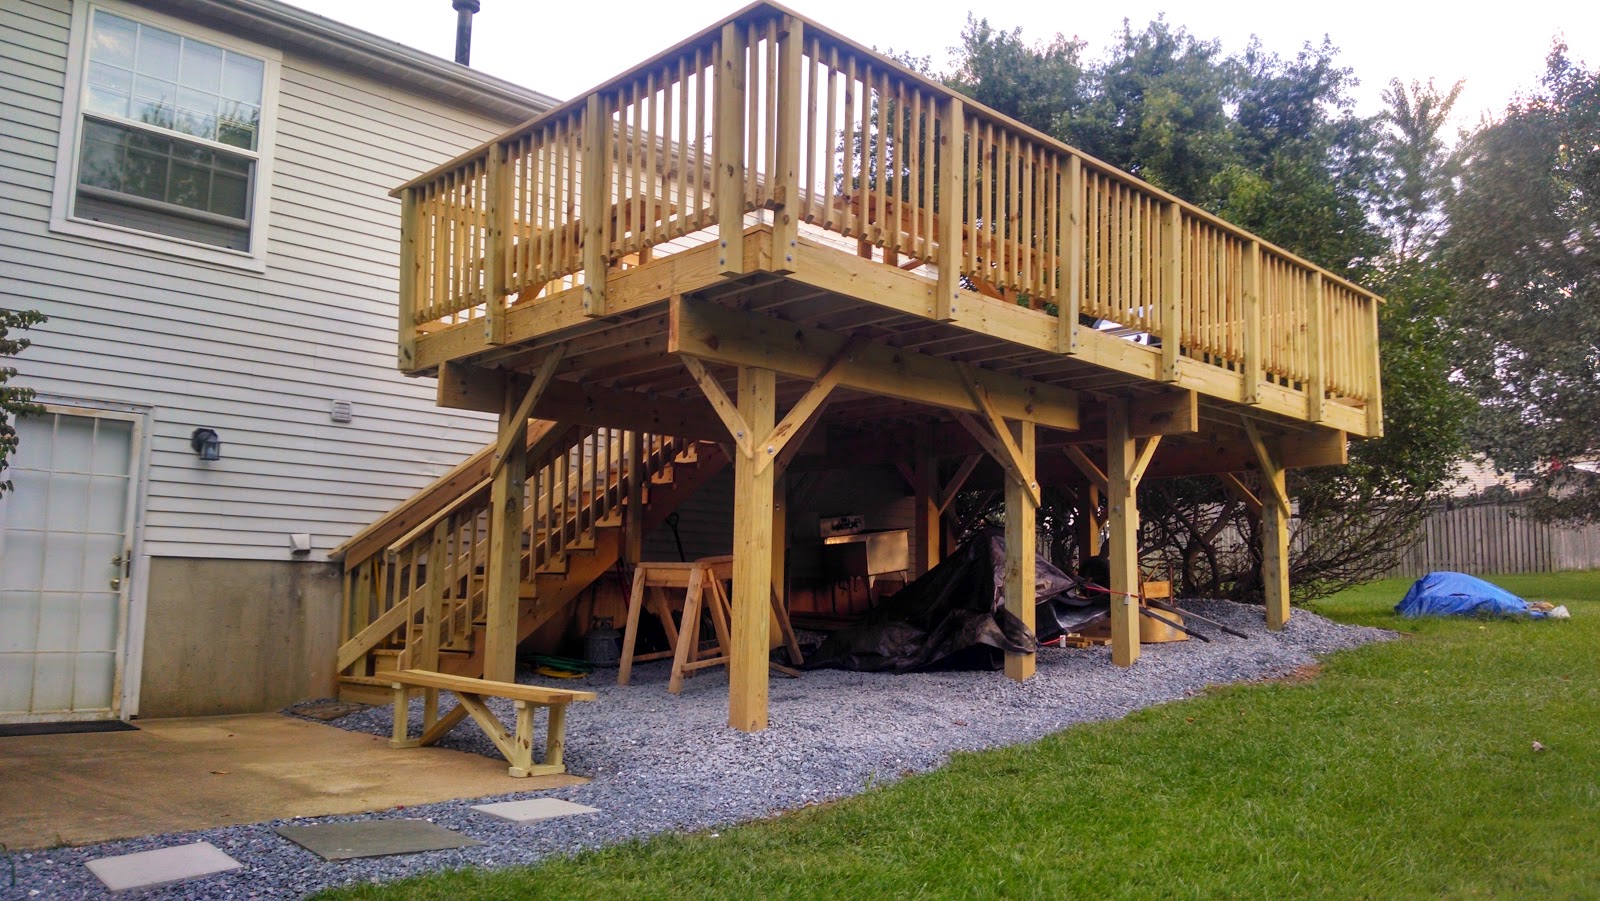 |
| View from below - Planning to build a shed underneath in the future |
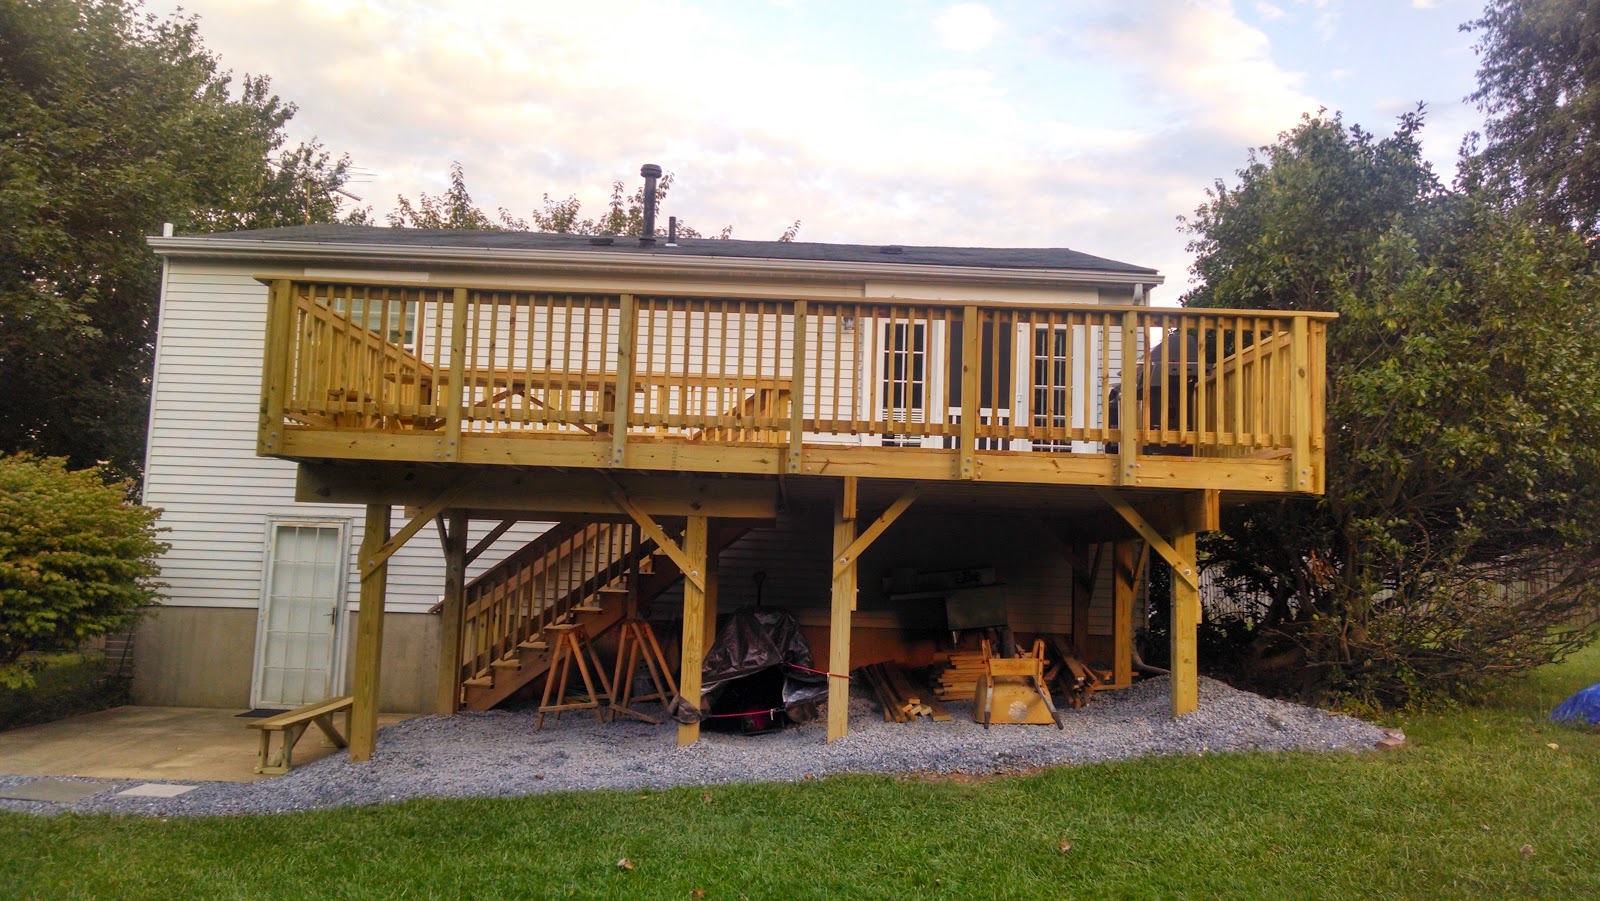 |
| Outside view |
Well, that about finishes it up! All I have left to do is stain it in another month or so once the wood has dried out a little more. I should have time to brew and update this blog more in the near future :)
Cheers!