As I mentioned at the
beginning of 2015, I am finally putting the wheels into motion here with my indoor home brewery. To transform my basement into the induction run brewery I need to completely the following projects:
This past weekend, I tackled the brew stand.
Plans
 |
| (Brew stand plans) |
Build
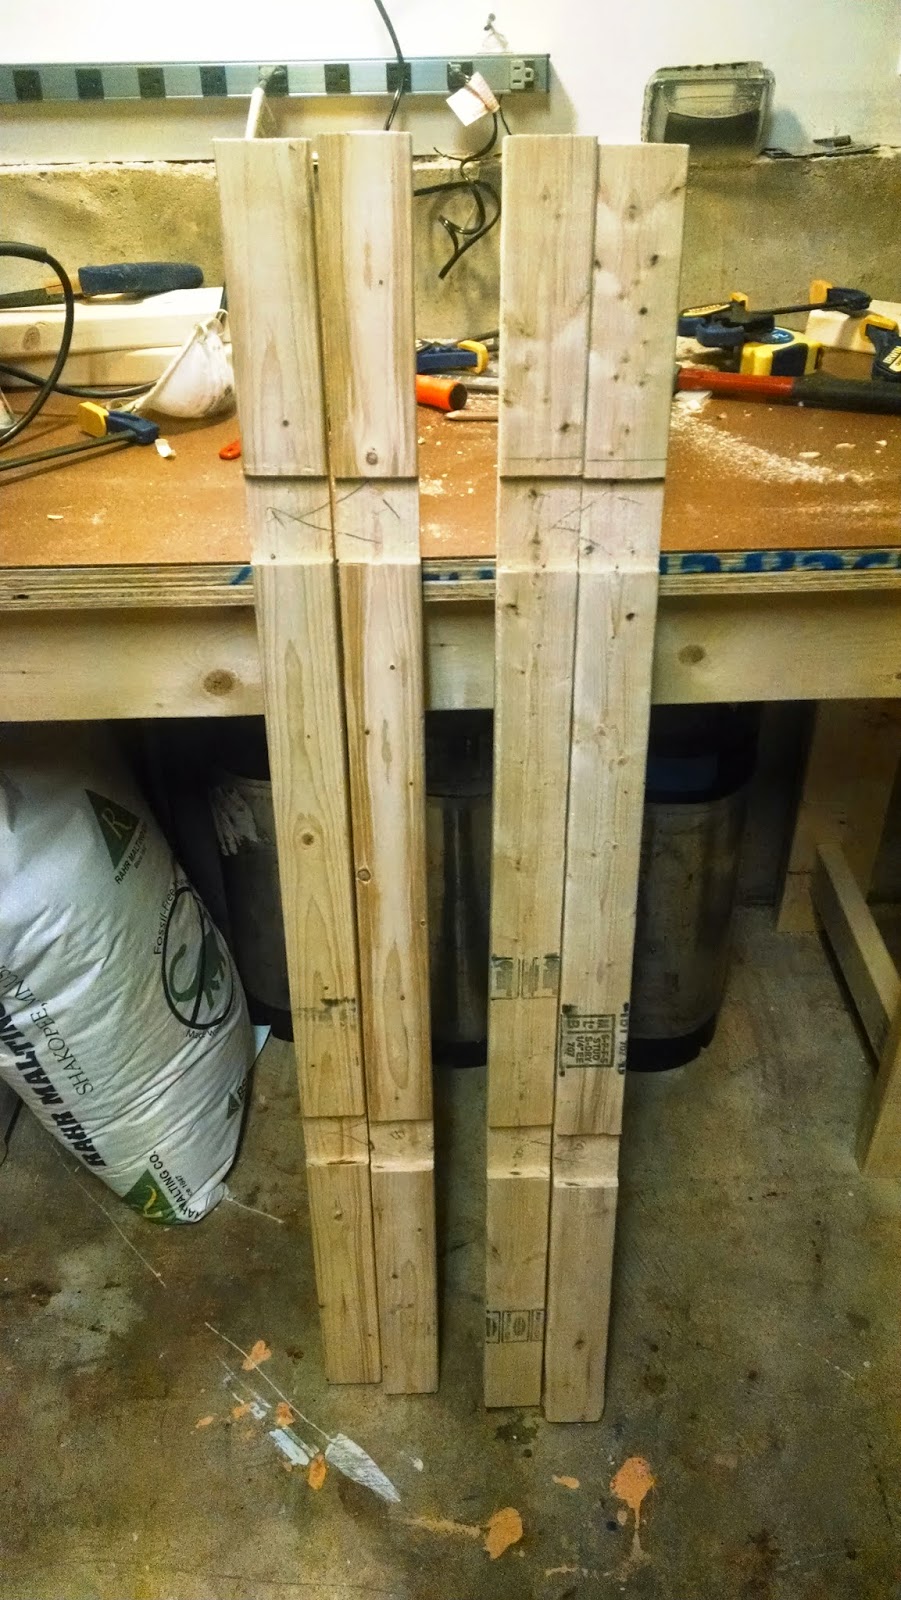
I don't seem to ever follow directions or plans 100%. This project was no different. I decided to dado out a 1/2" of the 2x3 dimensional lumber to hopefully increase the rigidity of the stand. If I didn't do this the square frame, and later all my wort and mash weight, would be solely relying on #9 deck screws to hold everything up. I, like most other homebrewers and DIY'ers, love to over build things so the screws alone may have been fine, but I felt comfort knowing some of the weight would be resting on the vertical 2x3.
 |
| (2x3 verticals with 1/2" dado) |
I failed to account for the 1" decrease caused by my impromptu dadoes so the side-view of the plans above is actually 22" inches overall, and 19" between the verticals. RDWHAHB! Everything fits in the end.
 |
| (Stand Frame) |
After pre-drilling and screwing in the horizontal pieces for the burner-level of the stand. I cut a plywood shelf, with notched corners, and fastened it down to the 2x3s with a few 1 5/8" drywall screws.
I then cut the 3 pieces for the open-ended top square and fastened them with the deck screws. I did my best to try to keep everything in square, but the 2x3s had warped a bit since purchase. This probably didnt' matter as I later found out the area of the basement I planned to put the brew stand is not even close to being level. Oh well! I placed a tiny shim under that front right leg and all is well.
Hypothetical Brew Day Pictures
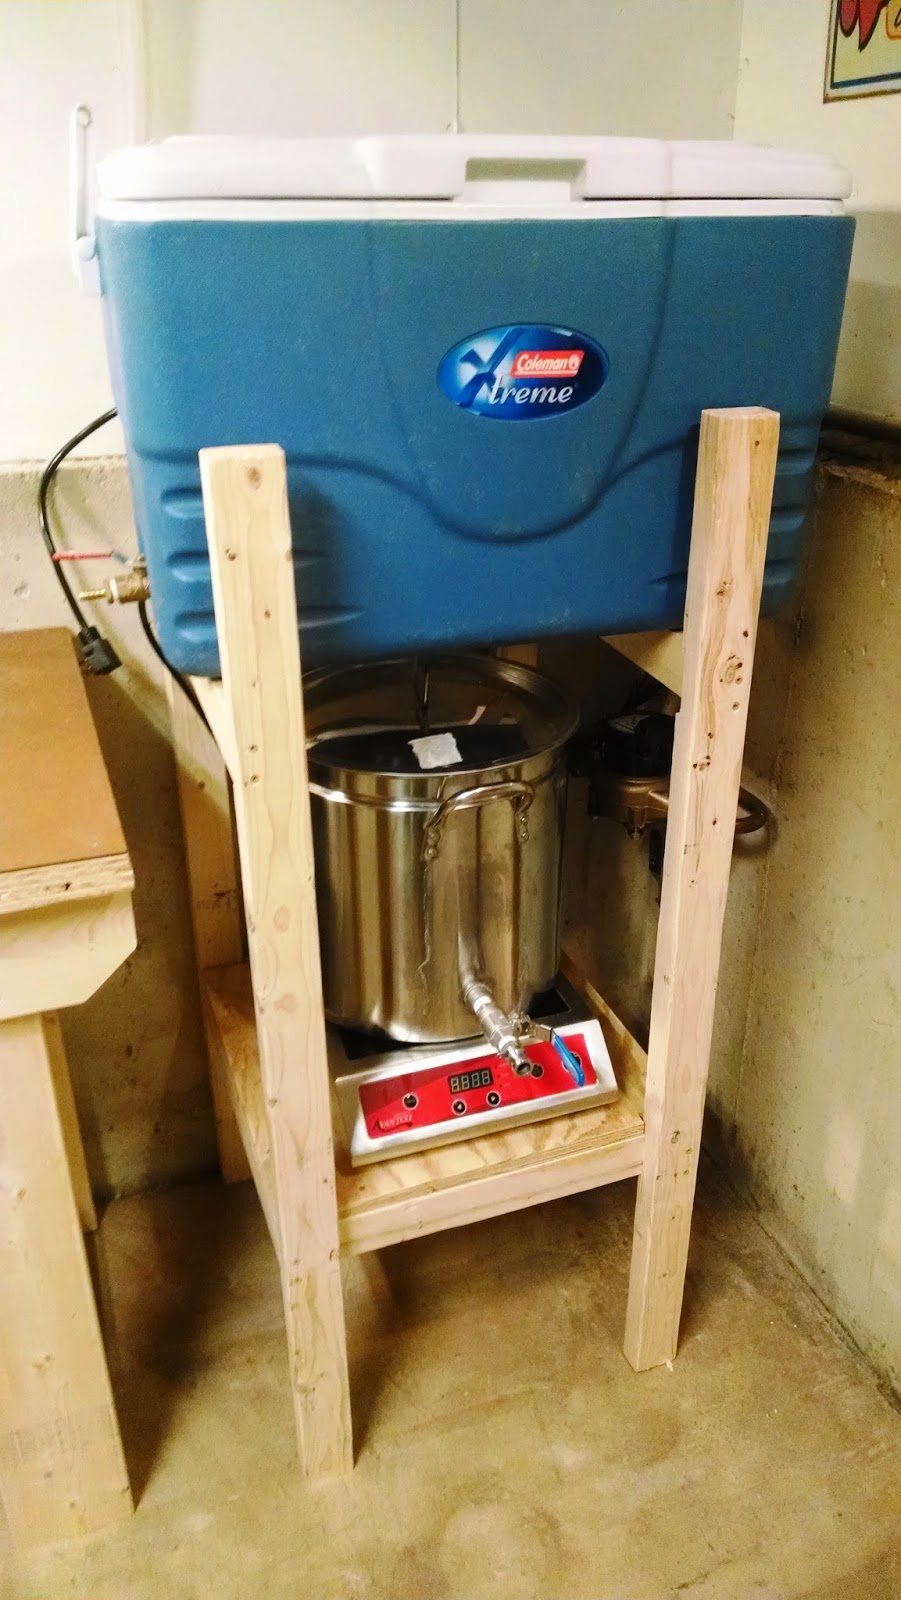
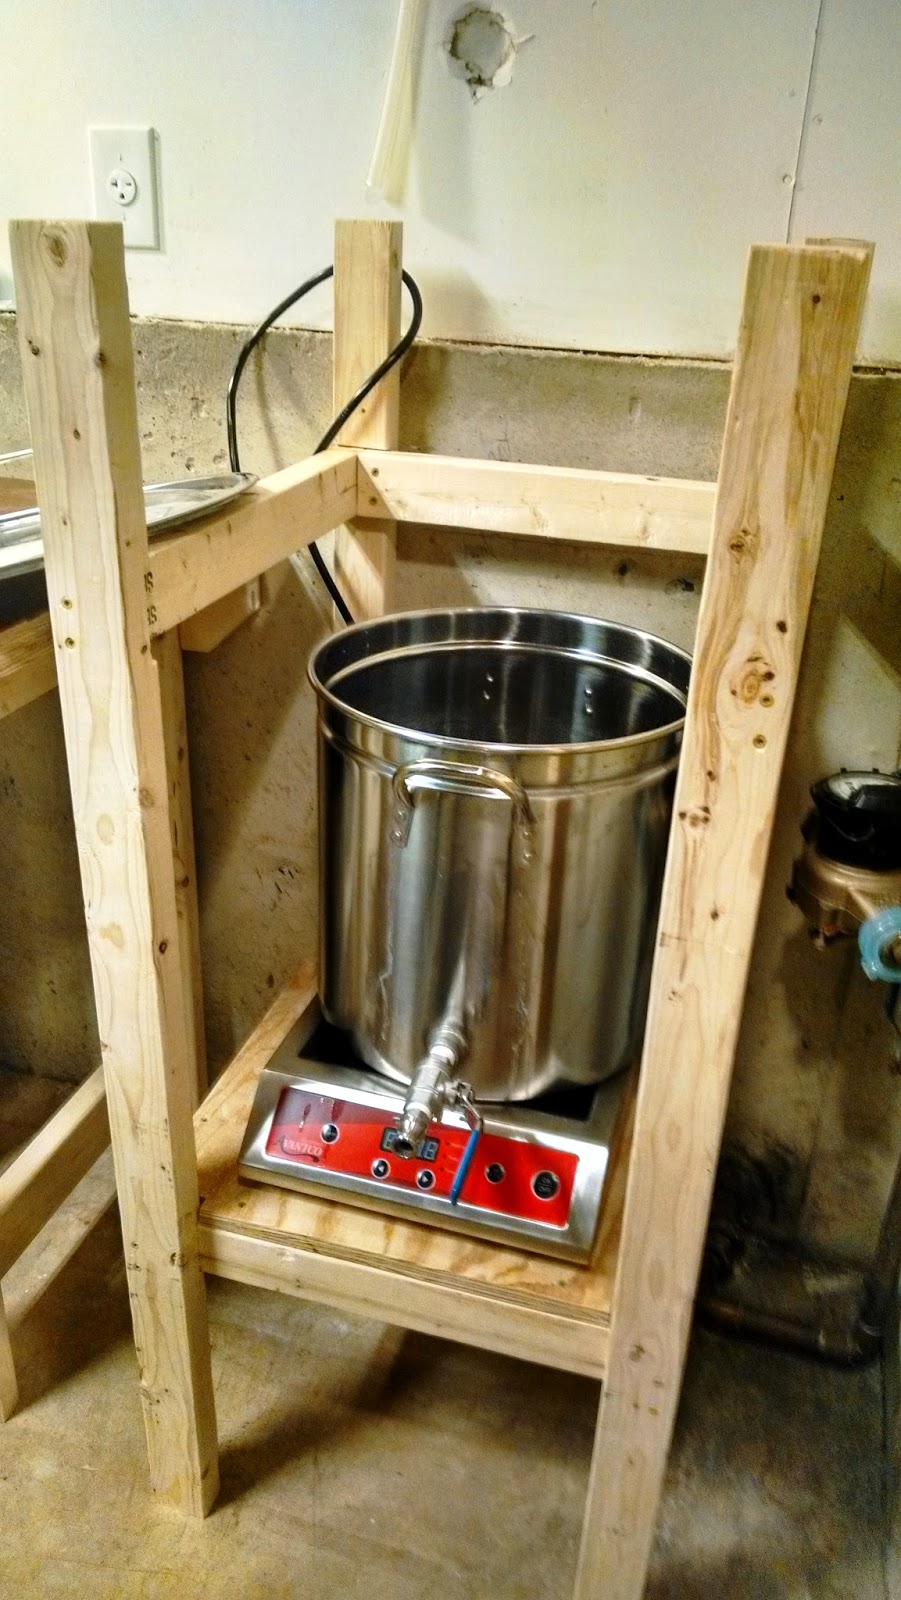
Here are some pics with things in place and testing out different hypothetical brew day procedures.
 |
| (Brew stand - hypothetical mash mode) |
 |
| (Brew stand - hypothetical sparge) |
 |
| (Hypothetical boil) |
 |
| (Hypothetical draining wort to fermenter) |
 |
| (Brew stand next to the bench - storage mode) |
Future tweaks
I think I may cut the top of the front two vertical pieces shorter in the future. I would have done it, but I had already swept up the basement of all the sawdust and didn't feel like repeating process. They are at the height they currently are just cause I had had the guy at home depot cut them in half for transportation purposes. I can image it will be easier to move the mash tun with grains for cleaning if I shorten those pieces.
I am probably going to stain or apply some sort of finish to the wood mainly to protect it from moisture and spills. Being made out of wood, I will be able to easily adapt the stand in the future if I ever go with a pump or RIMS setup, but I think this will work fine for now.
Stay tuned as I hope to tackle plumbing a new utility sink and water lines next.


It’s a classic great for me to go to this blog site, it offers helpful suggestions
ReplyDeleteright here
Hmm!! This blog is really cool, I’m so lucky that I have reached here and got this awesome information.
ReplyDeleteThese numbers reflect the common egress requirements according to IRC code, but be sure to check with your area building inspector for the exact regulations in your area. Home remodeling Chicago
ReplyDeleteThis is wonderful and quite informative blog I have learnt so many things from here.
ReplyDeletemultiple url opener for firefox
I found it very interesting. Keep more posting,
ReplyDeletetruckpartsuperstore.ca/pages/shop-by-brand